Prepare a Motorcycle for Winter Storage : How To : The complete guide to prepping your motorcycle for winter storage to make sure it emerges in the Spring in perfect condition.
By TomBoyNI
Prepare a Motorcycle for Winter Storage : The Ultimate Guide to Winter Motorcycle Storage :
As the days get shorter and the mercury on the thermometer dips, the inevitable time has come to put your motorcycle away for winter.
Don’t just toss a sheet over it and walk away! Proper preparation is crucial to ensure your bike emerges in spring ready to ride, looking perfect and not needing a major overhaul.
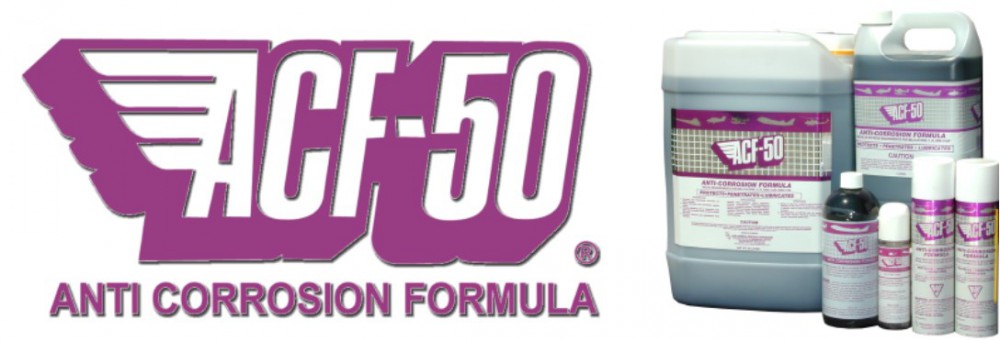
This guide covers everything you need to do, from cleaning to fuelling and fluid management as well as what I feel as the most important think for any bike over the winter – the application of ACF-50.
Step 1: The Deep Clean : 🧼
Before any protective measures can be applied, your bike must be spotless. Dirt, road salt, and grime are your enemy; they trap moisture and accelerate corrosion.
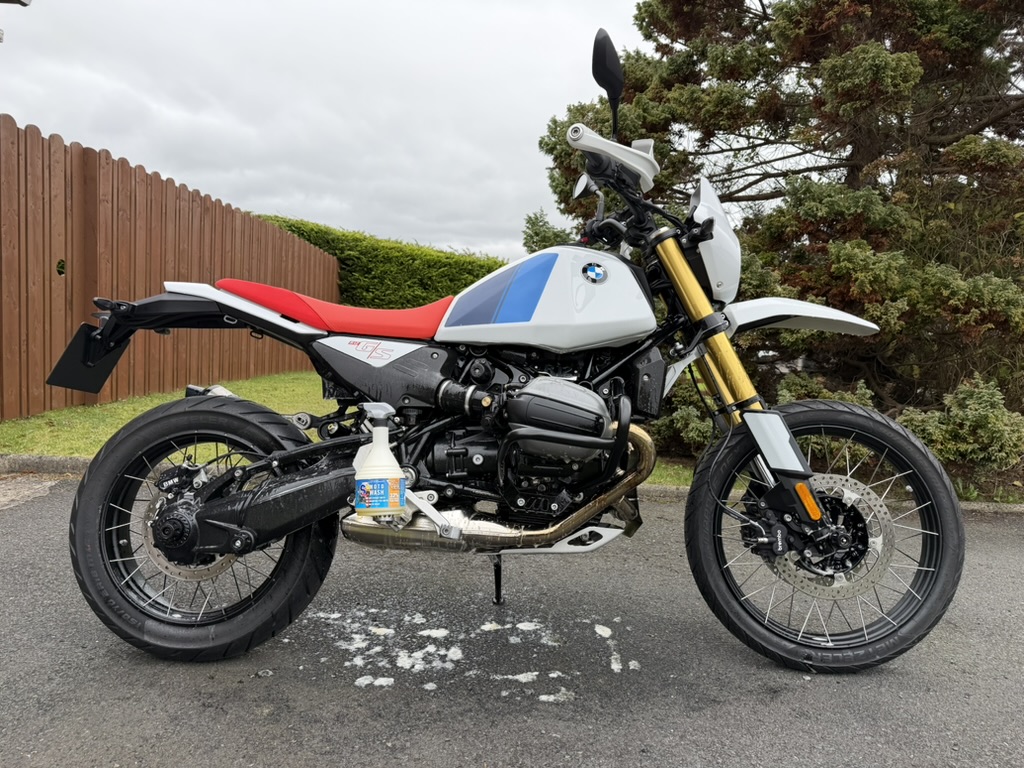
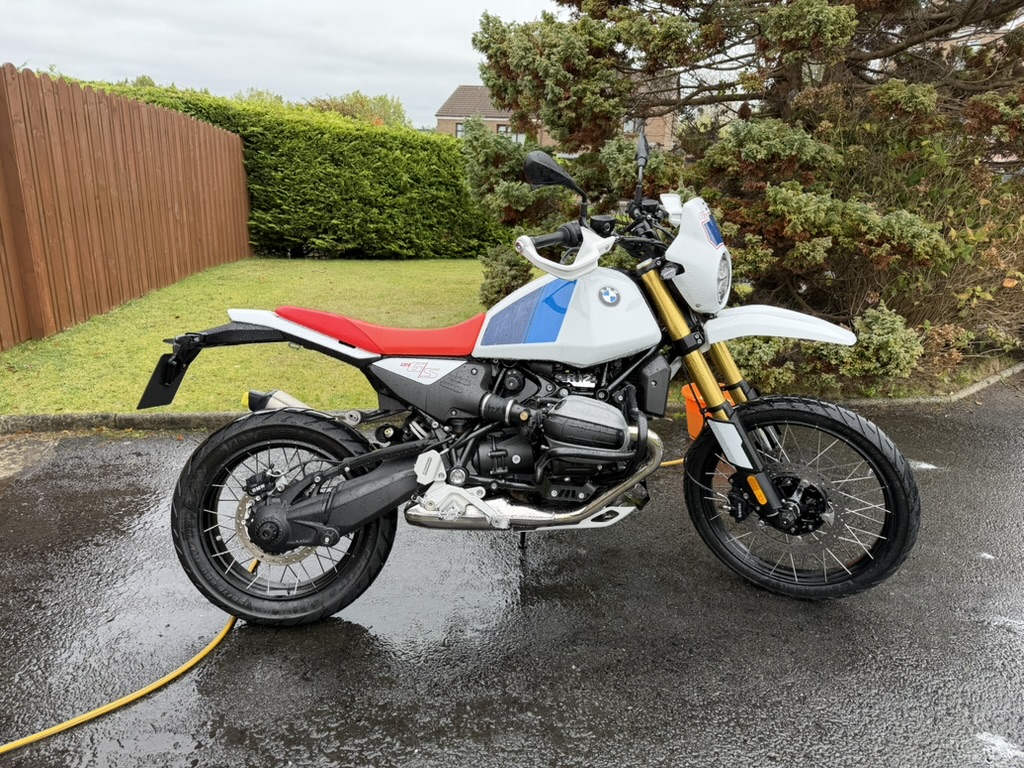
Wash Thoroughly: Give your motorcycle the best wash of its life. Use a quality cleaner and a soft sponge. Pay special attention to the underside, swingarm, wheels, and any hard-to-reach crevices where crud hides.
Dry Completely: This is non-negotiable. Use a microfibre towel, an air blower, or take it for a very short, slow ride (5-10 minutes) to let engine heat evaporate water from tricky spots like the exhaust headers and electrical connectors.
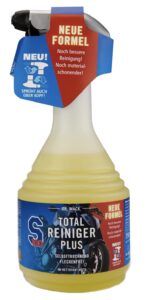
🧼 What Cleaner? My personal recommendation for a general purpose motorcycle cleaner is SDOC100. It is available in a 750ml spray bottle, but the real value is in the 5 litre drum. It is excellent stuff and eats through dirt and grime with very little effort needed. It is expensive stuff but well worth it, and five litres will last a considerable period of time.
🧼 Degreaser? If you have previously used a product like ACF50, or maybe not shown your bike the water hose and sponge as much as you could have a degreaser is worth its weight in gold before using the SDOC100 – or your cleaner of choice.
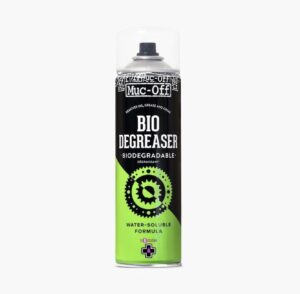
The degreaser that I recommend is Muc-Off Bio Degreaser. The amount of gunk this will remove from your bike is incredible. Just be sure to rinse it off thoroughly and then clean the bike after with your chosen wash shampoo – then importantly use protection. The ACF-50 will do that!
Step ️2: The Corrosion Combatant: ACF-50
Once the bike is clean and bone dry, it’s time for the ultimate protection against damp, cold storage: ACF-50 (Anti-Corrosion Formula). This aerospace-grade anti-corrosion spray is a must-have for winterizing, especially for riders in wet climates.
How to Apply ACF-50:
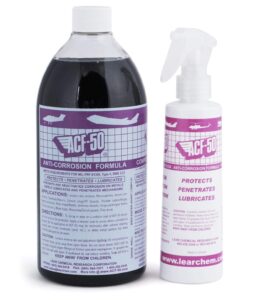
There are a 3 main ways ACF-50 is shipped.
The method of choice for me is the 0.95l bottle of product. It will come with either a pump sprayer or a more traditional style of spray bottle. Choose the normal spray bottle. The pump is old and has pretty much been replaced by the sprayer. Just in case you come across old stock, the spray bottle isn’t great.
The next is via an aerosol can. This is handy and quick, but I have found that the resulting spray is far too thick, and pretty wasteful. It does work though, so I feel it is worth a mention here.
💡 Pro Tip: When using the spray bottle get a bowl of hot water and put the full spray bottle (filled with ACF-50) into the bowl. Keep the spray nozzle out of the water, and let it sit for 5-10 minutes before you start. This will warm the ACF-50 and make it mist much more finely giving a far better, far cleaner, less gloopy application that will allow the ACF-50 to creep everywhere – protecting everywhere.
Preparation:ACF-50 is very thick at room temperature and a little goes a very long way. Put a small amount on a soft cloth or microfibre applicator.
Mist/Wipe Down: Apply a light film over all bare metal, painted surfaces (it’s safe for clear coats), spokes, bolts, brake callipers, and electrical connections. It works by forming a microfilm that actively neutralizes existing corrosion and prevents new rust from forming. You could use a new clean paint brush, a new clean microfibre cloth or the included spray bottle.
Engine & Radiator: Spray a very light mist over the engine block and radiator fins. The film will creep into seams and joints, providing excellent protection.
Avoid: Keep it off brake pads and rotors completely! If you accidentally get some on these parts, clean them immediately with a dedicated brake cleaner.
💡 Pro Tip:ACF-50 will also displace any residual moisture in electrical connectors, preventing the dreaded “spring starting issue” caused by damp electrics.
Step 3: Fuel & Fluids Management ⛽
Fluids degrade over time, which can lead to costly repairs.
A. The Fuel Tank
Fill It Up: To prevent condensation from forming inside the fuel tank (which leads to rust and water in your fuel), fill the tank to the brim with high-quality fuel. For the UK that means E5 fuel.
Add Stabilizer: Pour a measured amount of fuel stabilizer into the tank (following the product’s instructions). Run the engine for about 5-10 minutes to ensure the treated fuel circulates throughout the entire fuel system (tank, fuel pump, lines, and injectors/carbs).
B. Oil Change
New Oil is Best: Old, used oil is full of combustion by-products and corrosive acids. Change the oil and filter before storage. Fresh, clean oil sitting in the engine prevents these harmful contaminants from corroding internal components over the winter.
C. Coolant and Brake Fluid
Check Levels: Ensure your coolant and brake fluid levels are correct. If the coolant is old, it might be worth flushing and replacing it to guarantee its antifreeze properties are still strong.
Step 4: The Battery 🔋
This is often the number one culprit for spring non-starts.
Remove It: For long-term storage (over a month), remove the battery. Store it somewhere dry, above freezing, and off a concrete floor (an old myth, but why risk it?).
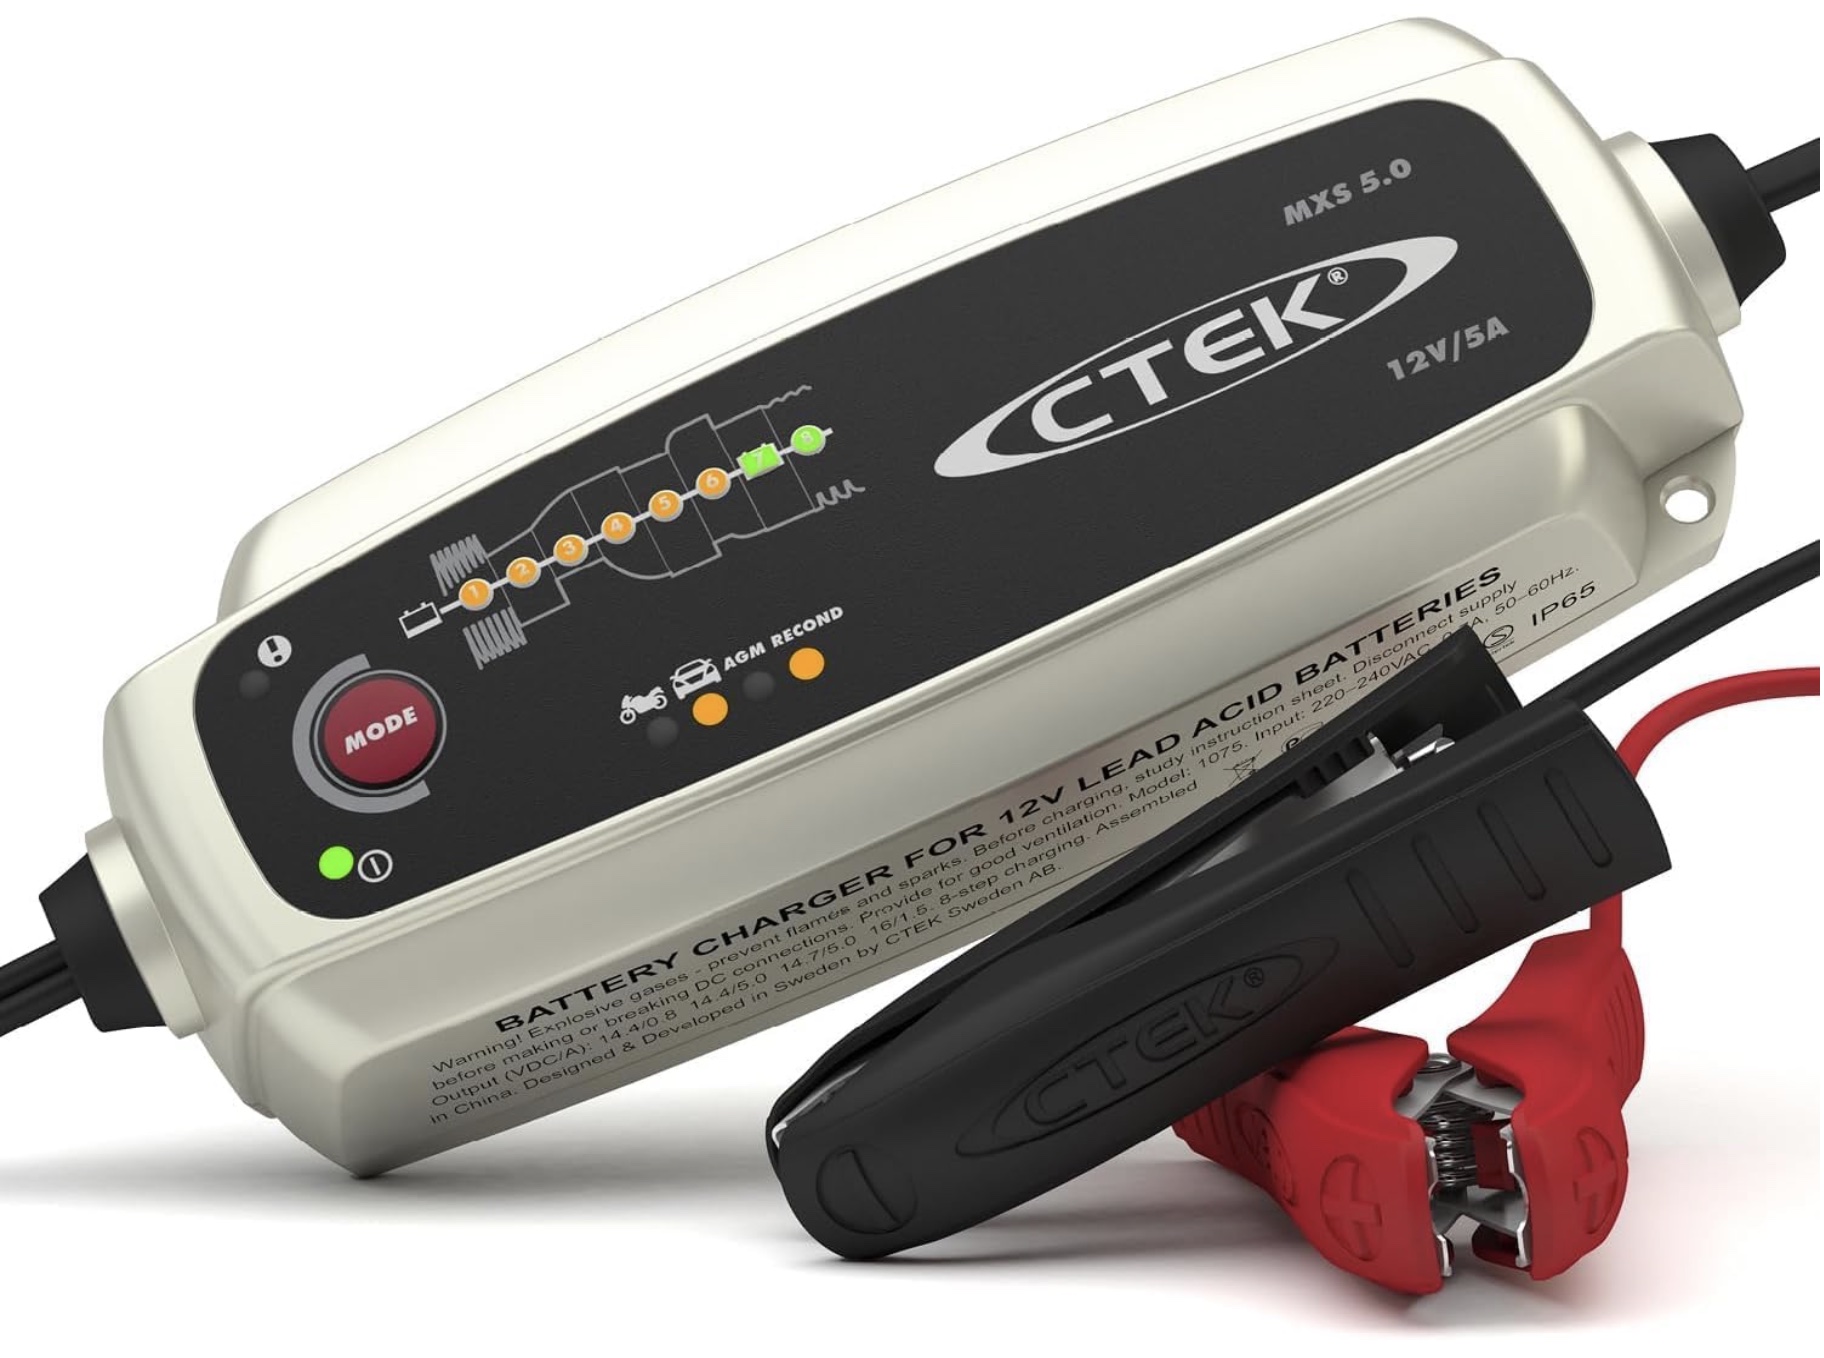
Trickle Charge: If you have power near to where you store the bike then you can simply connect your battery to a smart charger or battery tender. This device monitors the battery and keeps it optimally charged without overcharging, ensuring it’s ready to fire up in spring.
The link above takes you to one of the best trickle chargers on the market. I have used this charger on a car and motorcycle for many years (since 2016) and it has always preformed impeccably. It is an easy to recommend product.
Step 5: Tyres and Suspension 🛞
Tyres can develop flat spots if left standing in the same position for months.
Inflate Fully: Inflate your tyres to the maximum recommended pressure listed on the sidewall (or a few PSI above the manufacturer’s recommendation).
Avoid Flat Spots: If possible, place the bike on paddock stands (front and rear) to get the tyres off the ground completely. If you can’t use stands, consider rolling the bike a few feet every month.
Step 6: Final Storage Location 🏡
Where you store your bike matters just as much as how you prepare it.
Environment: Choose a dry, secure location that is relatively stable in temperature. Garages and sheds are fine, but try to avoid areas prone to extreme dampness or temperature swings.
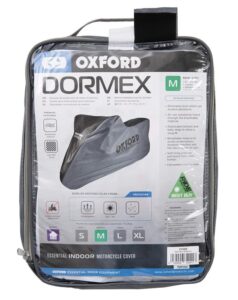
The Cover: Use a non-plastic, breathable cover (often cotton or a soft fabric). Plastic tarps trap moisture, which will defeat all your ACF-50 efforts!
Oxford make a superb range of indoor (and outdoor) motorcycle covers.
Following these steps—especially using the protective layer of ACF-50—will make that first spring ride infinitely better. Instead of fiddling with flat batteries and rusty bolts, you’ll be able to dust off your helmet, turn the key, and hit the road!
These are the products I personally use :
About The Author
I am a road race loving, adventure motorcyclist, with a huge bit of techie built in. I am currently trying out a bit of photography.
2026 Armoy Road Races Results : The 2026 Armoy Road Races - The Race of Legends was held over the weekend of 24th / 25th July July 2026. Full results are as follows…
This website uses cookies to improve your experience. We'll assume you're ok with this, but you can opt-out if you wish.AcceptRejectRead More
Privacy & Cookies Policy
Privacy Overview
This website uses cookies to improve your experience while you navigate through the website. Out of these, the cookies that are categorized as necessary are stored on your browser as they are essential for the working of basic functionalities of the website. We also use third-party cookies that help us analyze and understand how you use this website. These cookies will be stored in your browser only with your consent. You also have the option to opt-out of these cookies. But opting out of some of these cookies may affect your browsing experience.
Necessary cookies are absolutely essential for the website to function properly. This category only includes cookies that ensures basic functionalities and security features of the website. These cookies do not store any personal information.
Any cookies that may not be particularly necessary for the website to function and is used specifically to collect user personal data via analytics, ads, other embedded contents are termed as non-necessary cookies. It is mandatory to procure user consent prior to running these cookies on your website.