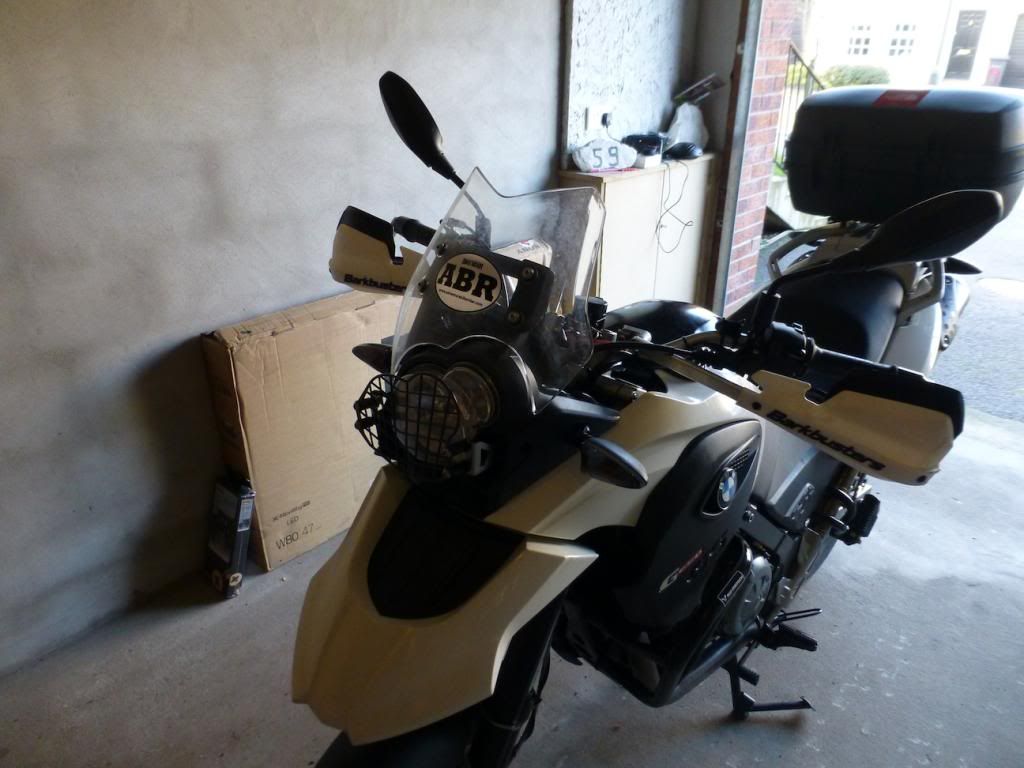
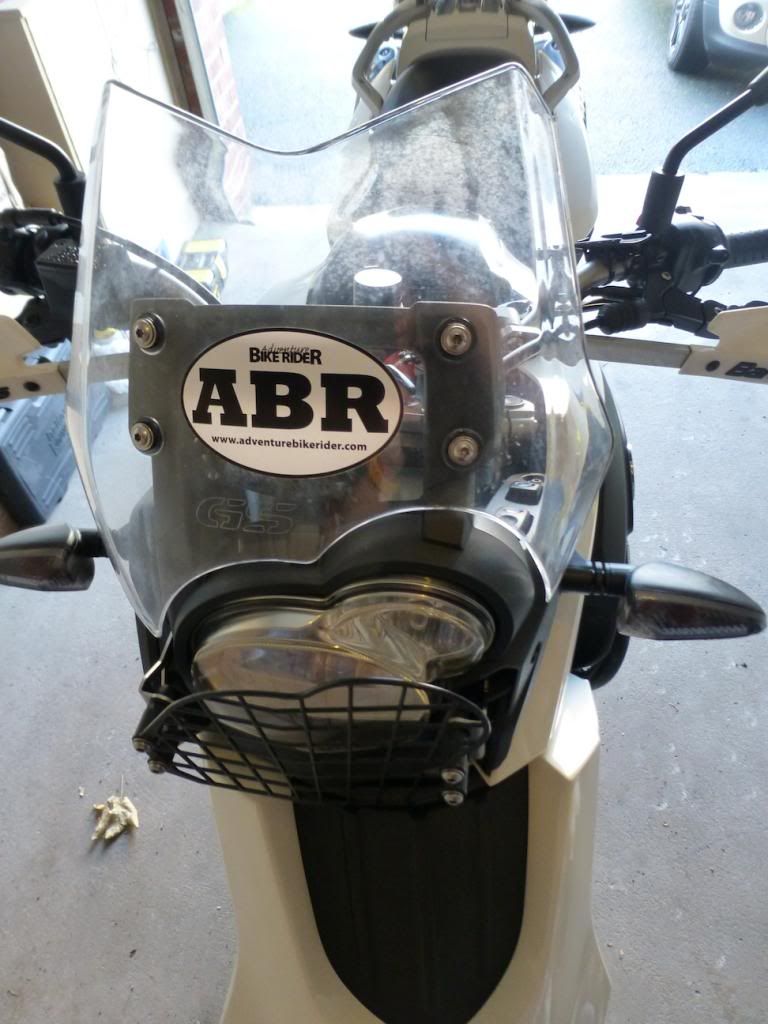
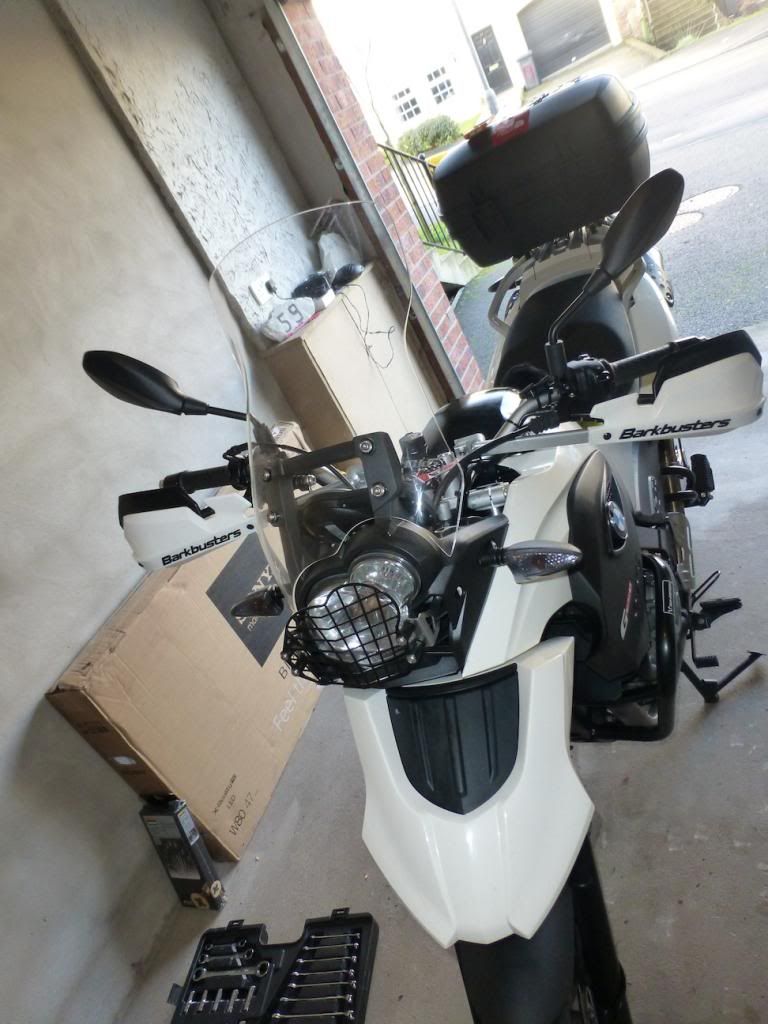
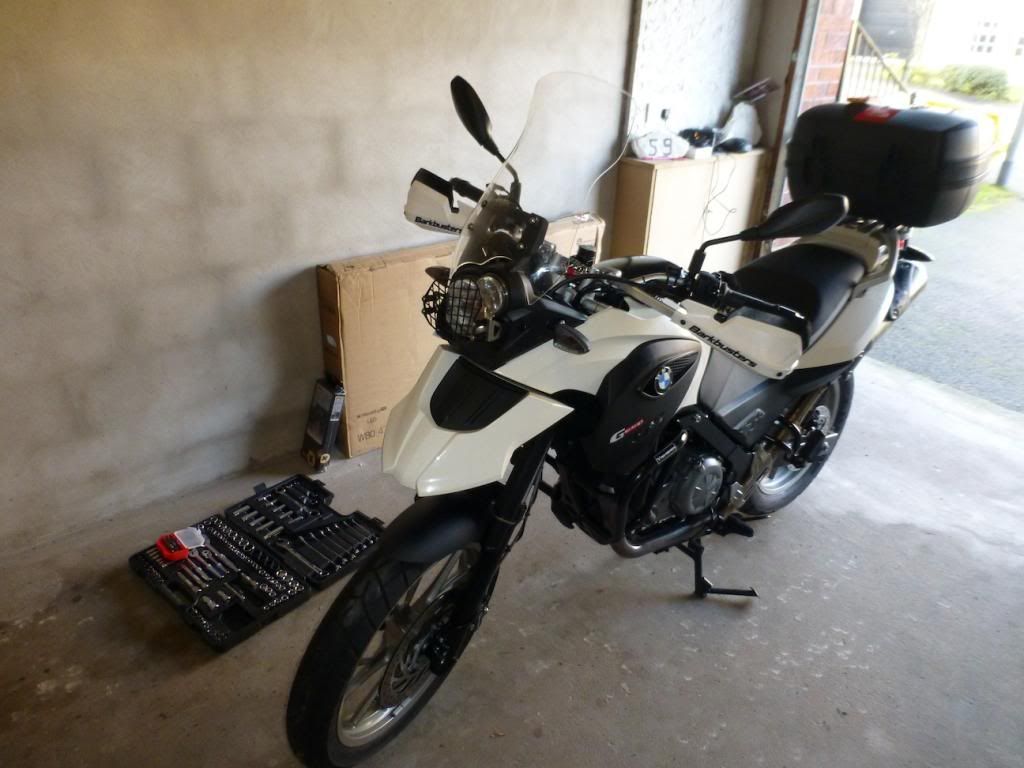
Rugged Roads Headlight Protector for BMW F800GS Adventure

Like all motorcyclists and adventure motorcyclists we all love tinkering and new bits of kit. ABRs more than any I believe love protective stuff, little farkles that protect more expensive items on the bike, are reasonably priced but look mean! Let’s be honest the look of the kit is probably its biggest asset, of course in this case we have a £40 unit protecting a £500 unit, but it looks cool and makes everything else look a bit more serious! And that is half the fun!

Don’t forget the other half though! This is after all a serious piece of kit, it does have a purpose, namely to guard the headlight from stones and debris, and this piece of kit is serious enough to do it! From the second you take it out of the packaging you will feel how sturdy it is, it is obvious that this will protect your headlights from impact of flying debris and it will only have to do it once and you will be very glad you spend the cash!

For your info here are the details from www.ruggedroads.co.uk

Protect your headlights from expensive damage due to wayward stones and other detritus with our heavy duty polycarbonate guard.

We have redesigned our headlight guard to give even more protection to your headlights without defusing the effectiveness of the lights.

This polycarbonate headlight guard has been designed by us at Rugged Roads and is manufactured to the highest quality here in the UK.  We have made the fixing brackets out of Stainless Steel – and the guard itself from Makrolon®

Colour – Clear polycarbonate.

This item fits the following models:
– BMW F800GS – 2008 – 2012
– BMW F800GS –  2013 onwards
– BMW F800GSA – 2013 onwards
– BMW F650GS (Twin) – 2007 – 2012
– BMW F700GS – 2013 onwards

Installation is simple…

Read more

BMW G650GS Modifications : High Screen, Wide Pegs, Tank Pads and Aux Lights

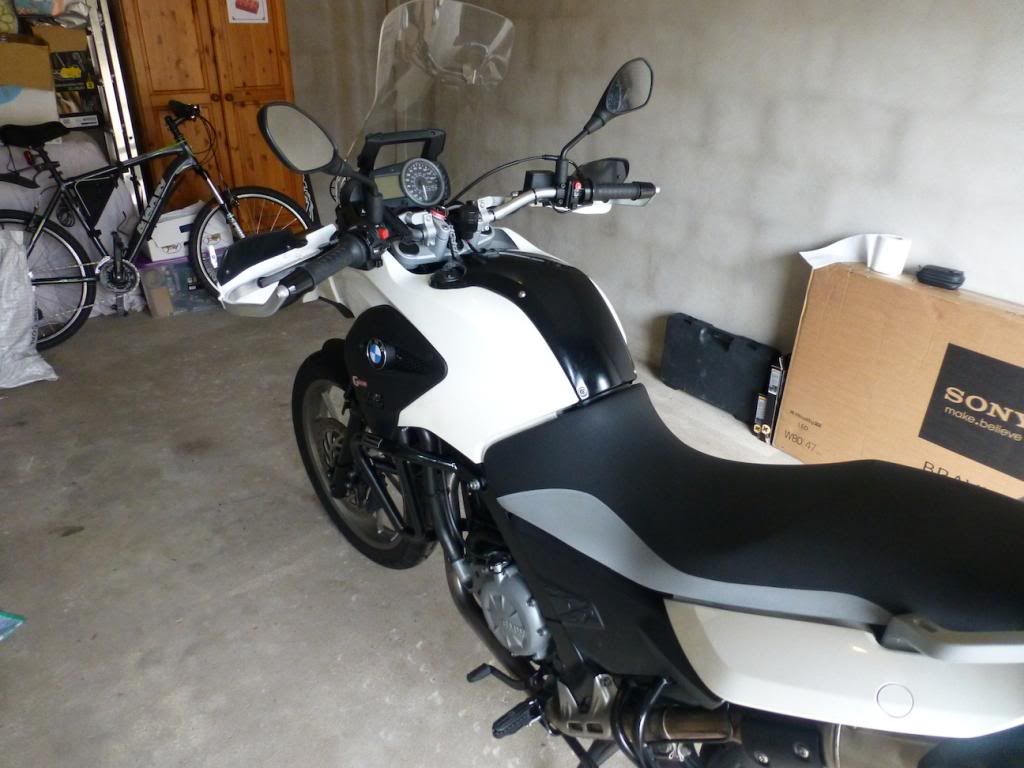
I recently changed my bike, however prior to getting rid of my old one I did make a few final modifications, 3 of them successfully and one not so much.

The BMW G650GS is the baby of the GS range from BMW, but regardless of the fact that it is the smallest it is still a great all round machine. It will go pretty much anywhere and with its punchy 650cc single cylinder engine it is snappy enough, however it goes lack in top end power.

The weight of the bike (in that it is very light – a wet weight of 191kg) means that it is easily managed and thrown about the B-Class roads.

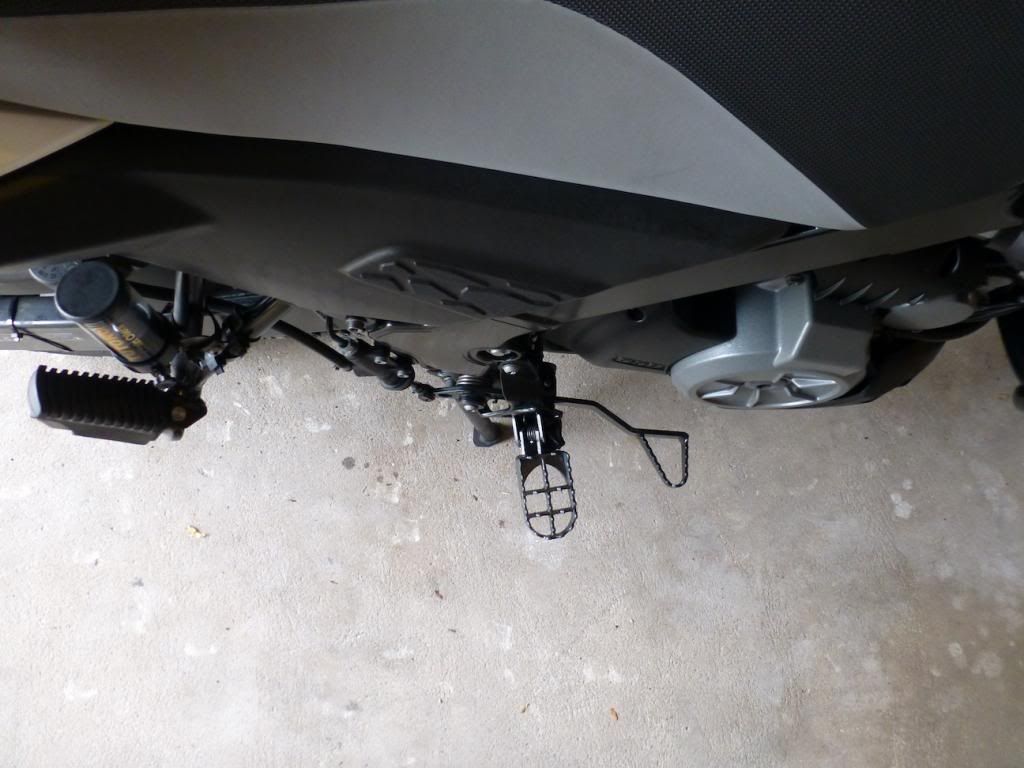
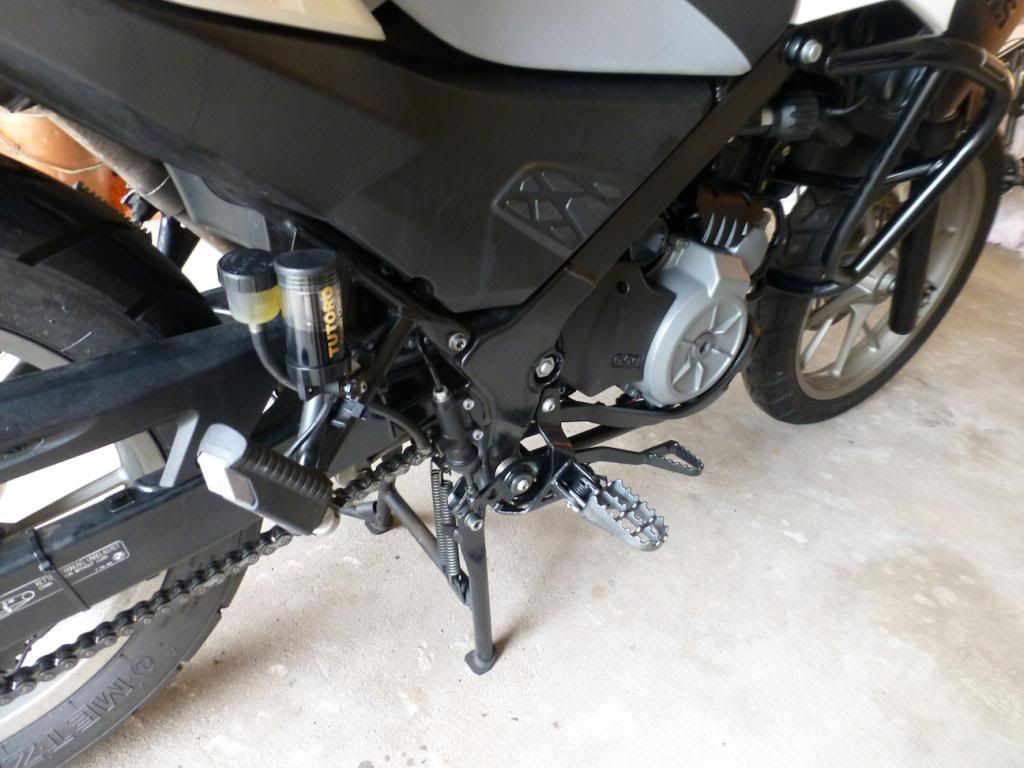
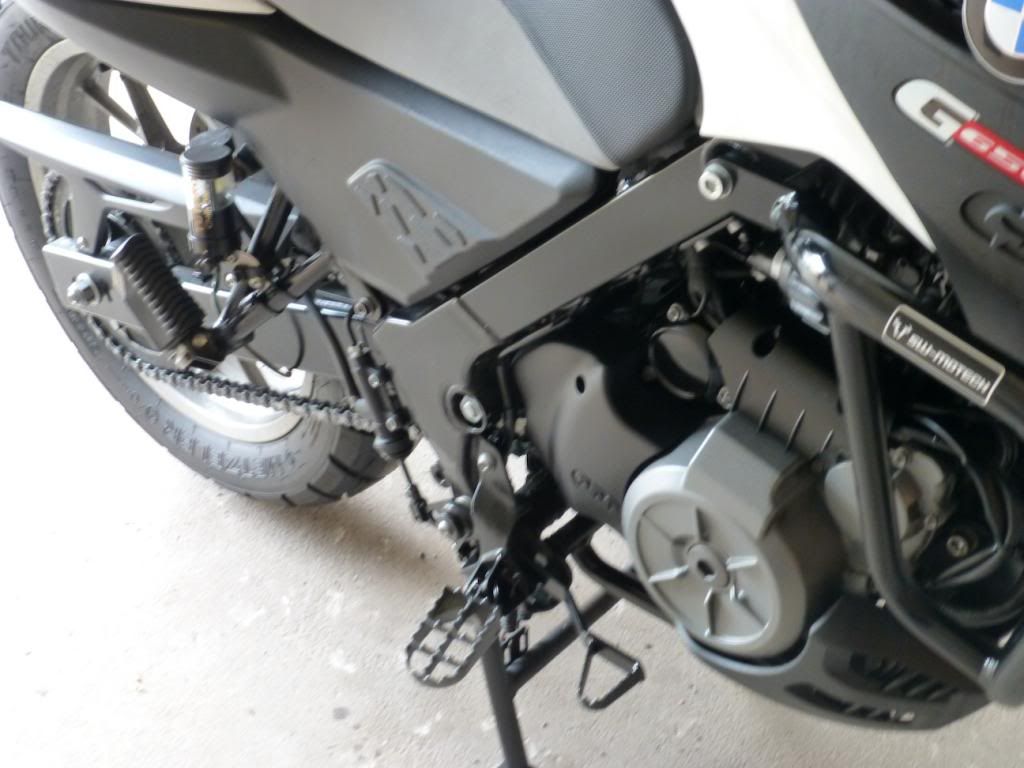
However with it being classed as a dual-action or adventure style bike it doesn’t come with many add ons that other bikes higher up the range take for granted. For me a taller screen and some wide pegs were an absolute must and they came courtesy of eBay.

The screen costing a mere £55, and the pegs costing a whopping c. £25! When you consider ‘branded’ wide pegs come in at around the £200 mark, and a screen being at least £120, these were two absolute bargains and can not be more simple to fit.

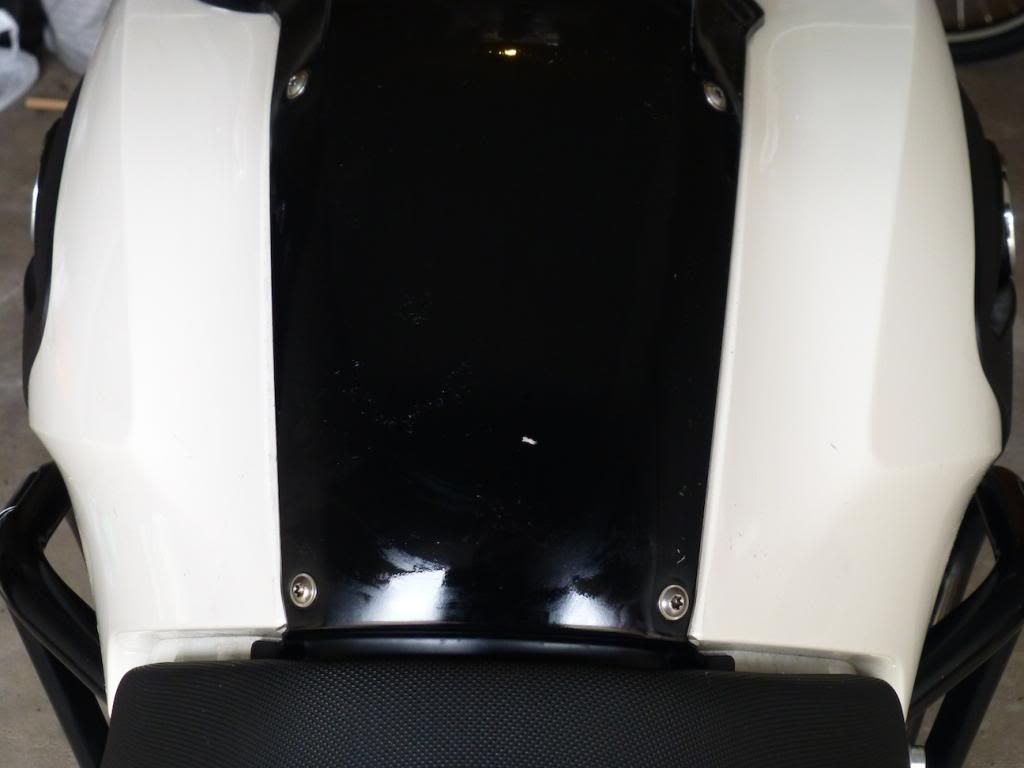
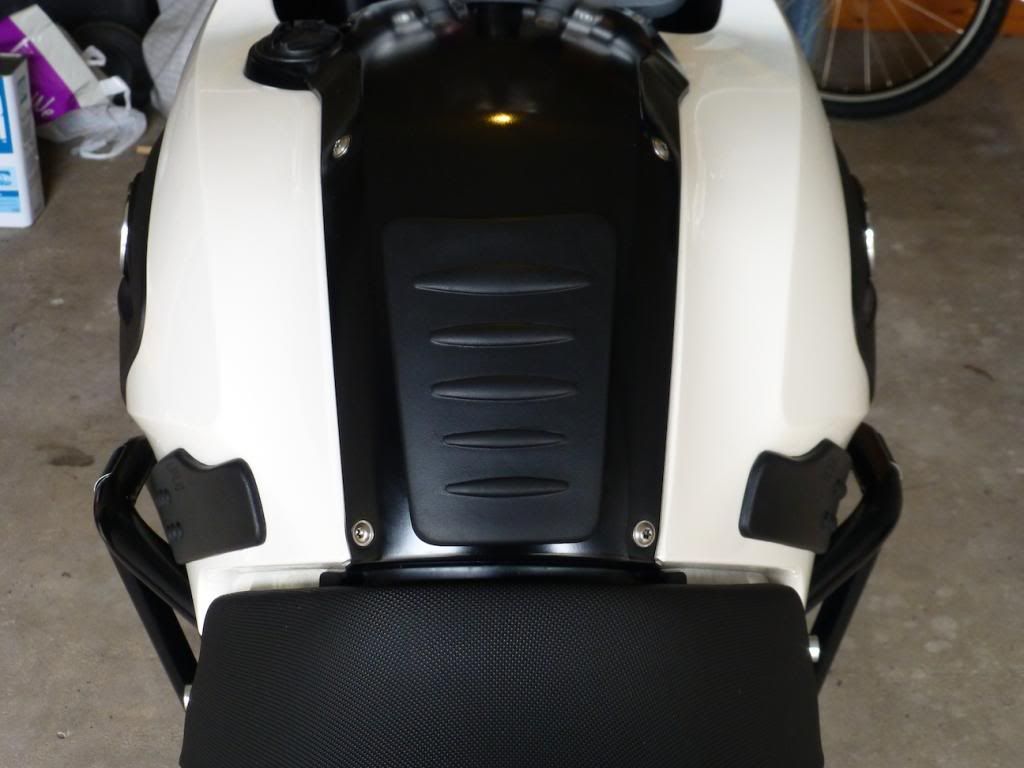
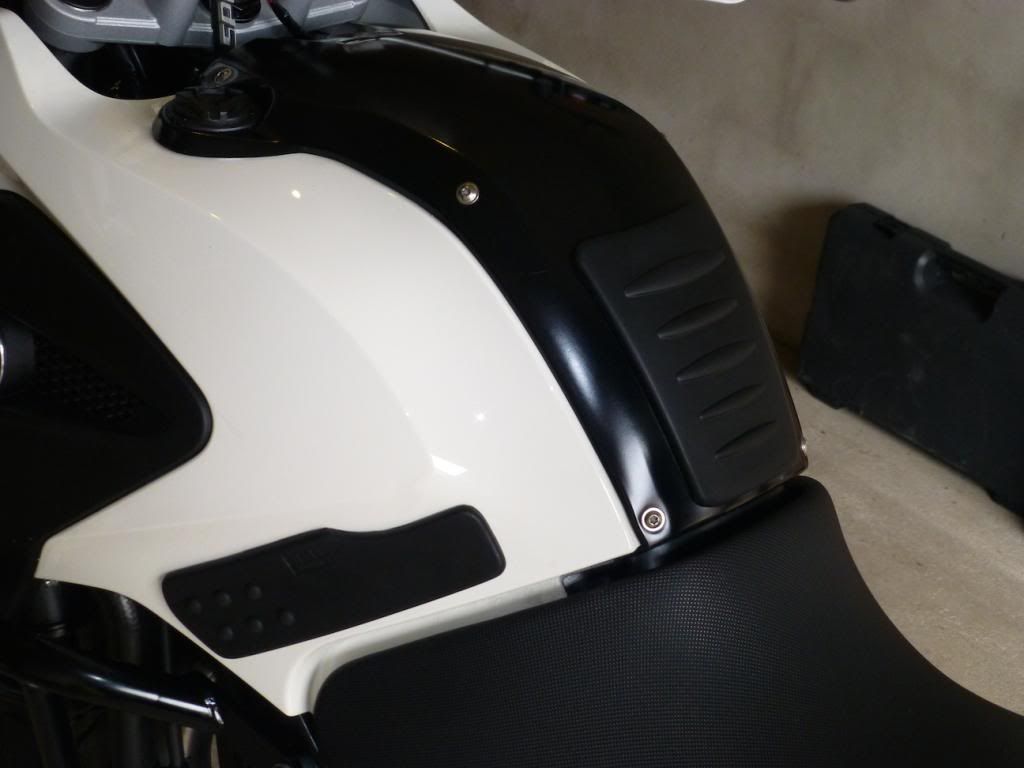
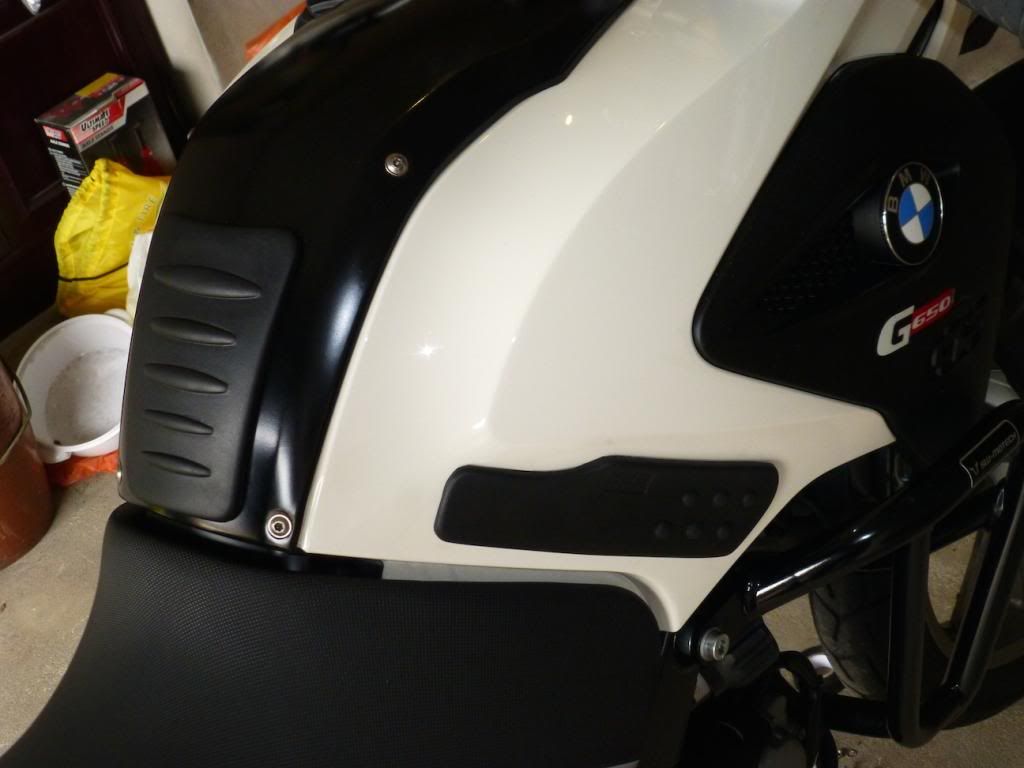
The 3rd successful add-on and another ridiculously easy modification to add was some tank guards, with one purpose only – to protect the tank paintwork and plastics.

Unscrew -> Remove -> Screw back on -> Job done!

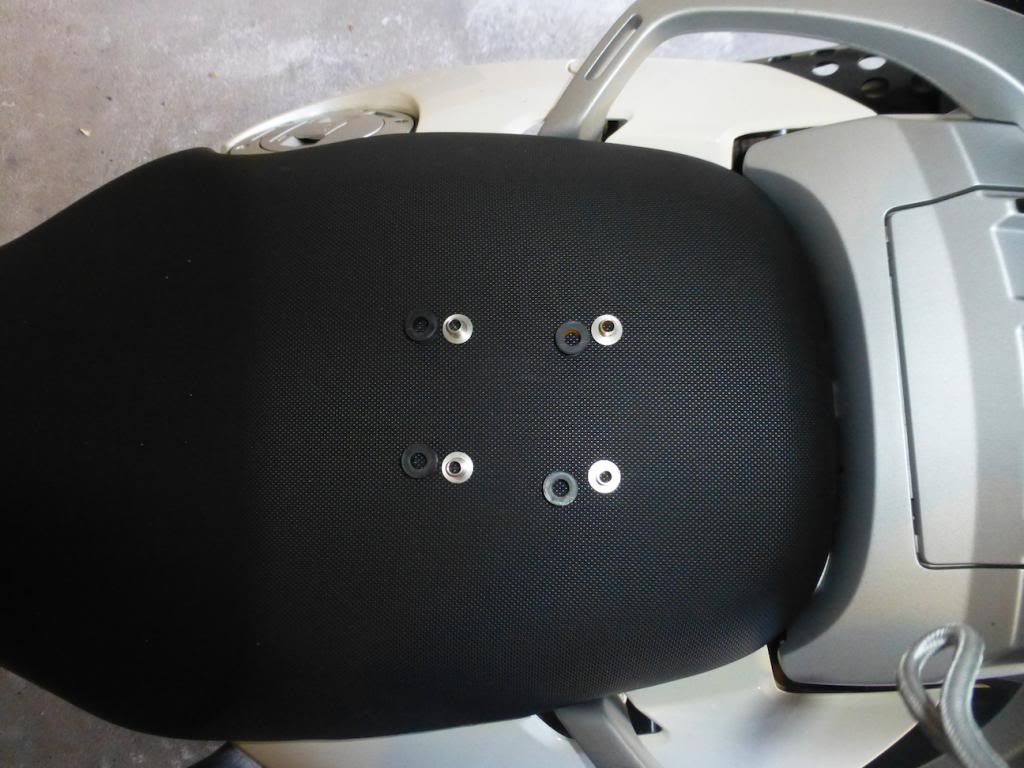
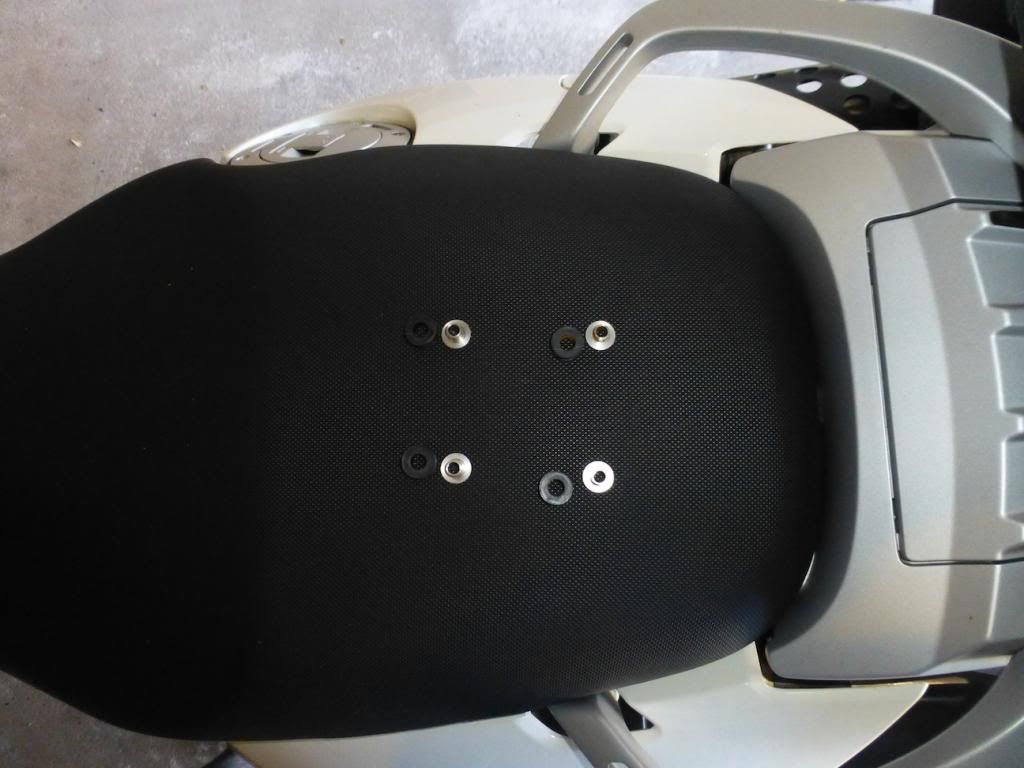
First of all we will have a look at the high screen :

The Standard OE BMW Screen :
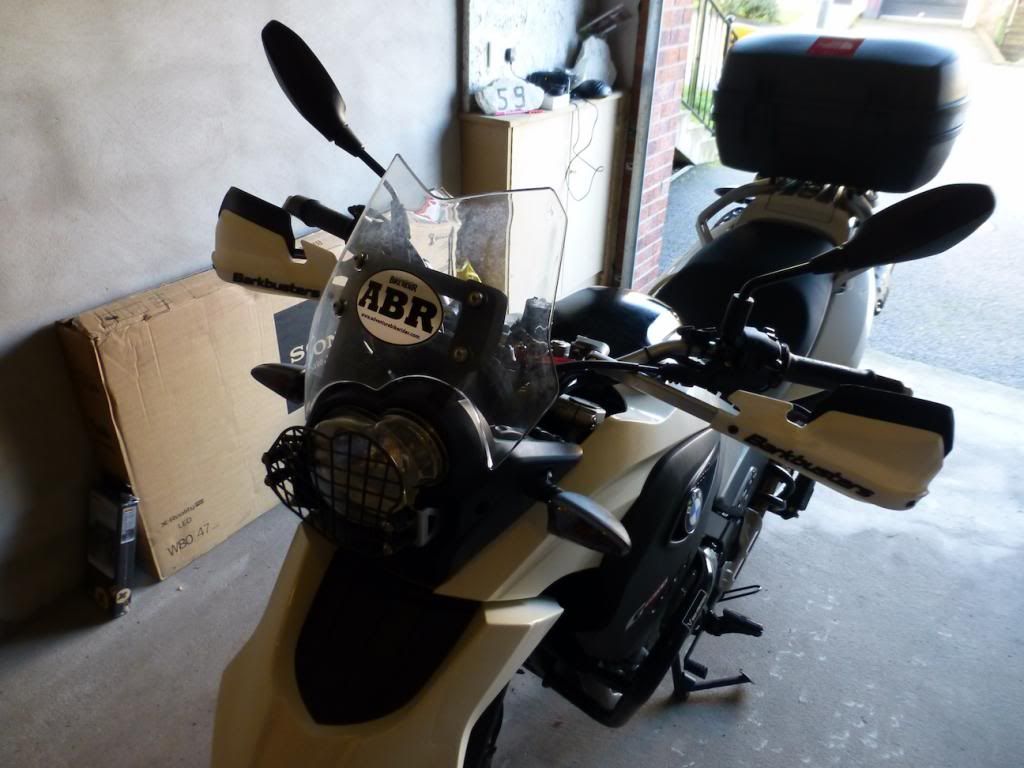
 photo P1080065_zps81d0762e.jpg
 photo P1080066_zpsf6ec7be3.jpg
 photo P1080067_zps50029230.jpgSimply Unscrew, Replace and Screw!
 photo P1080068_zps2b94c834.jpg
 photo P1080069_zps2883e874.jpg
 photo P1080070_zps6b300991.jpg
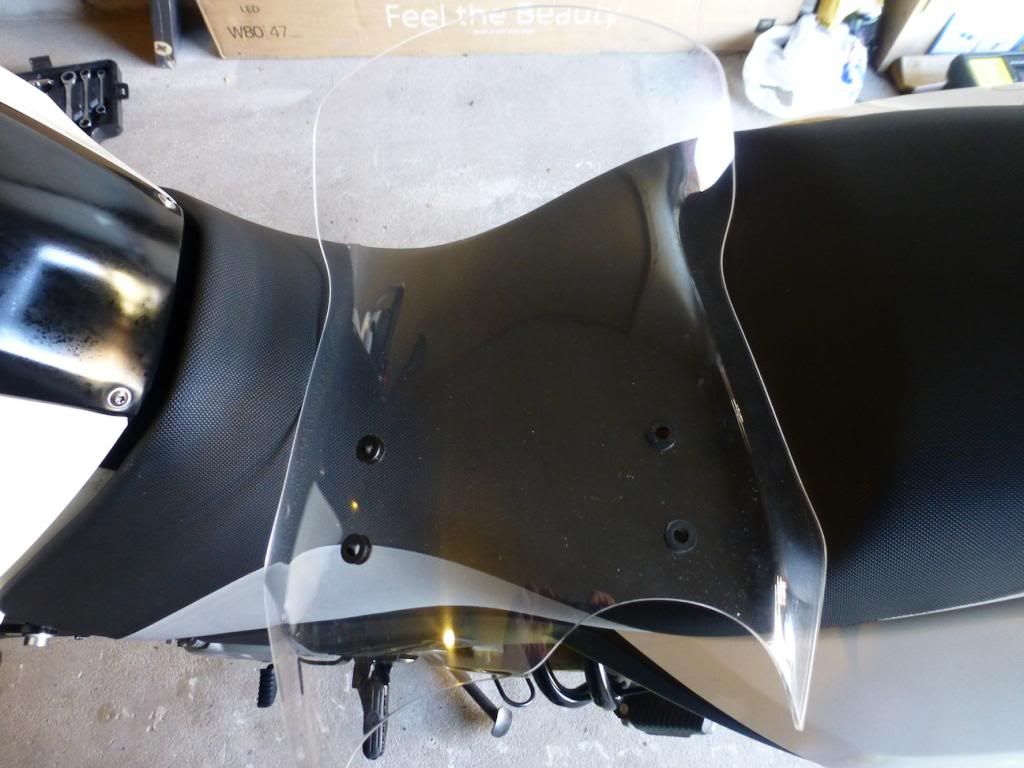
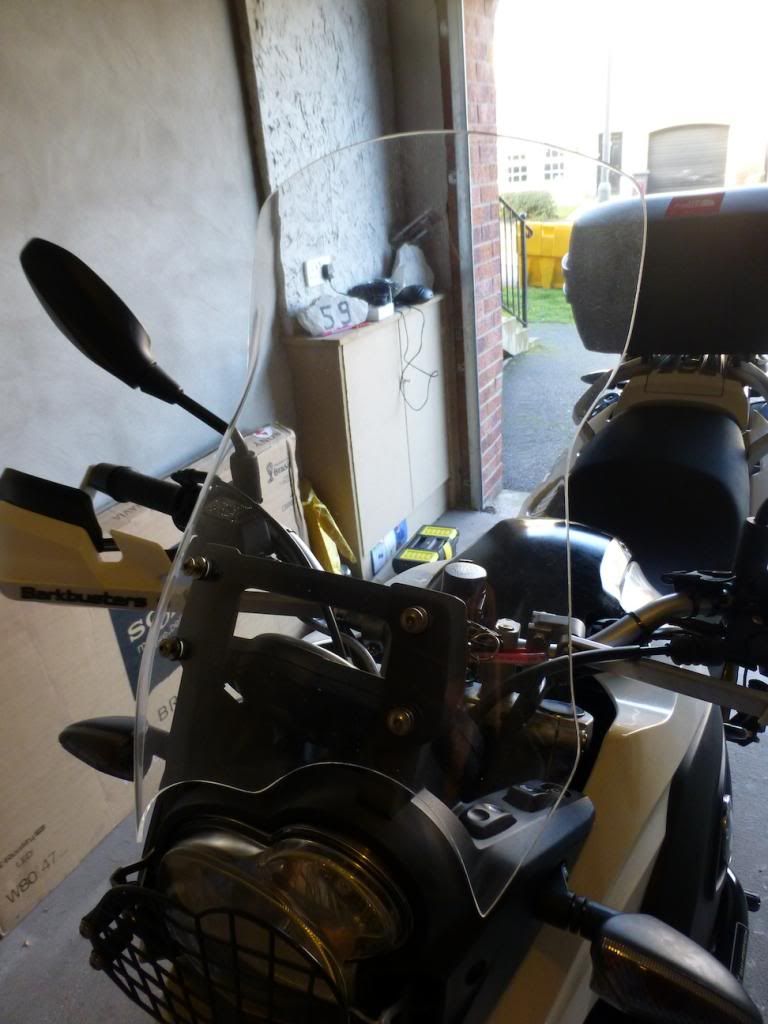
 photo P1080071_zps52c23c9b.jpgThe New Screen :
 photo P1080072_zps5cad6c09.jpg
 photo P1080073_zpsc402610d.jpg
 photo P1080074_zpsde5224dc.jpg
 photo P1080075_zps7a04534f.jpgFollowing the successful and obviously simply installation of the Screen I replaced the OE Footpegs with some new Wide Pegs :
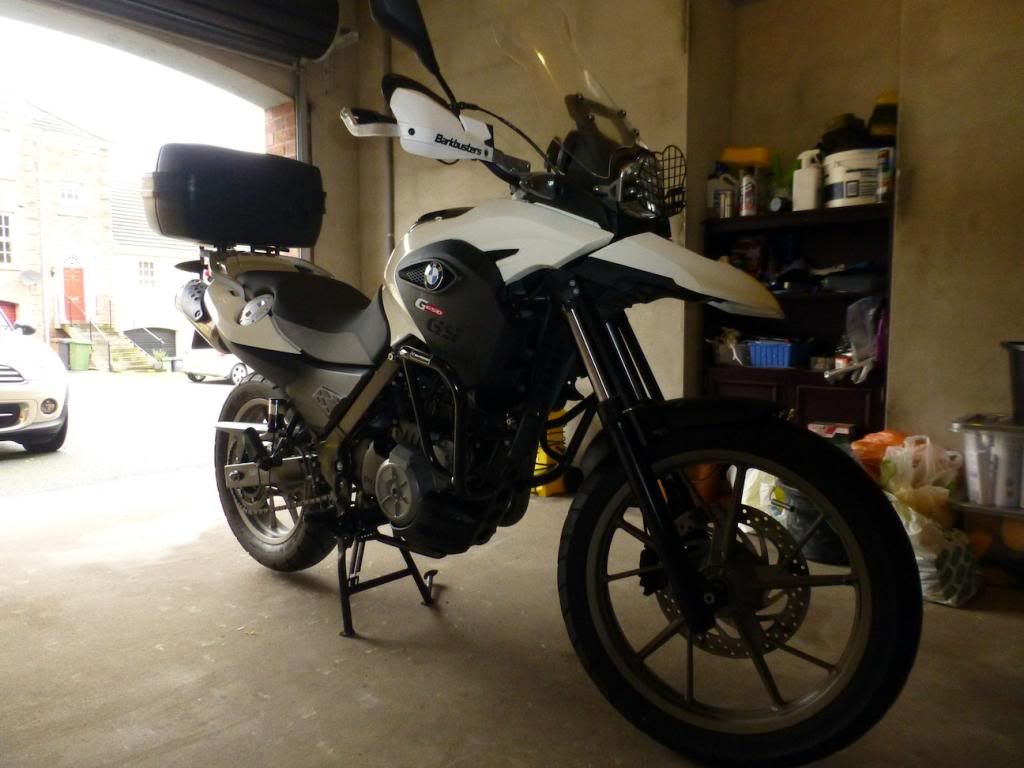
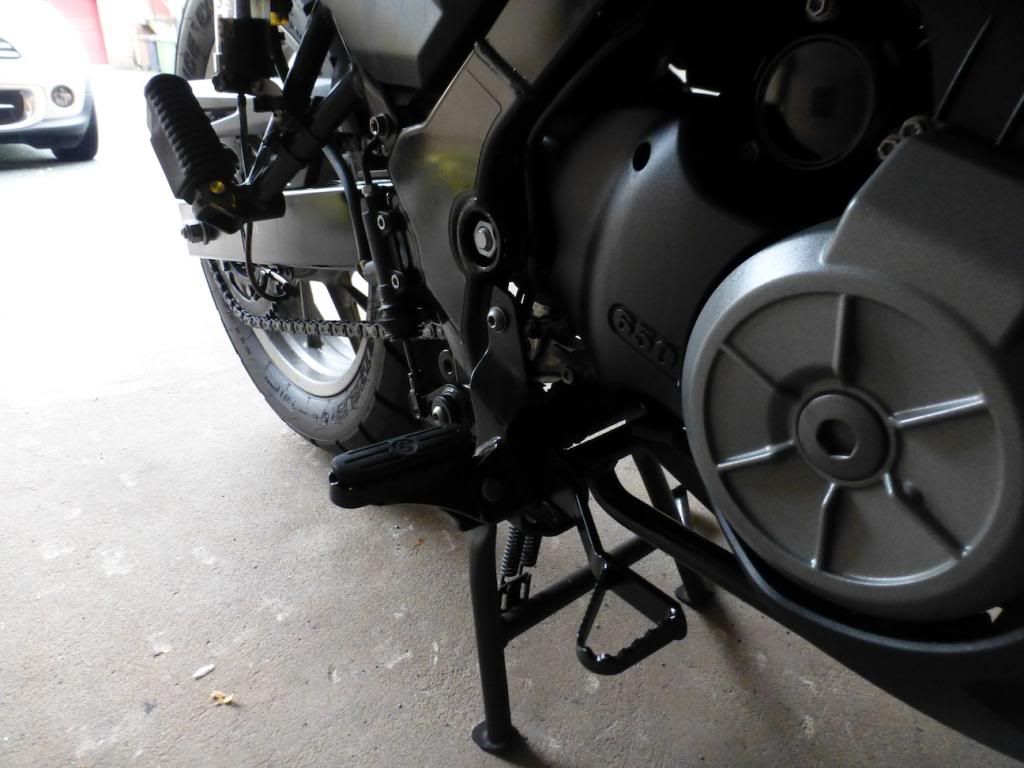
 photo P1080157_zps9f3ff48a.jpg
 photo P1080158_zps456b01a5.jpg
 photo P1080159_zps847b3db4.jpgSimply undo one nut and bolt, carefully reeve the spring and replace in the reverse order – job done!
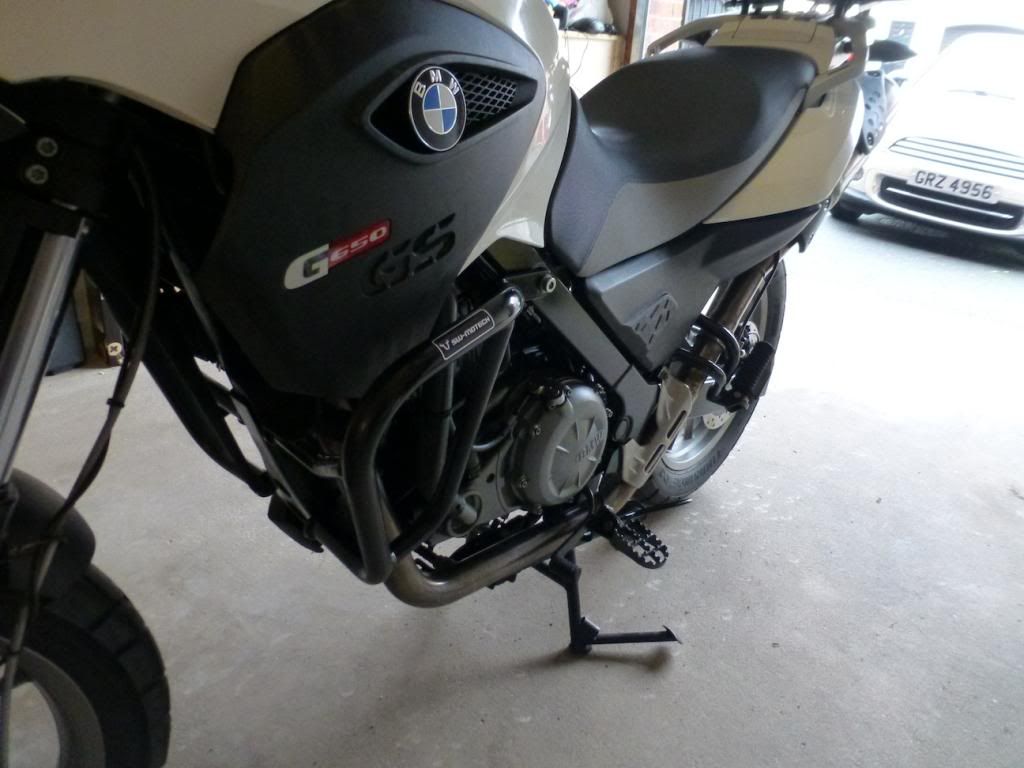
 photo P1080160_zps240b7371.jpg
 photo P1080161_zps734dbce2.jpg
 photo P1080162_zpsf9646872.jpg
 photo P1080163_zpsf9fbaa42.jpg
 photo P1080164_zps300a79bd.jpgThen we have the Tank Pads from Wunderlich – Peel off the 3m sticky pads, line them up and slap them down!
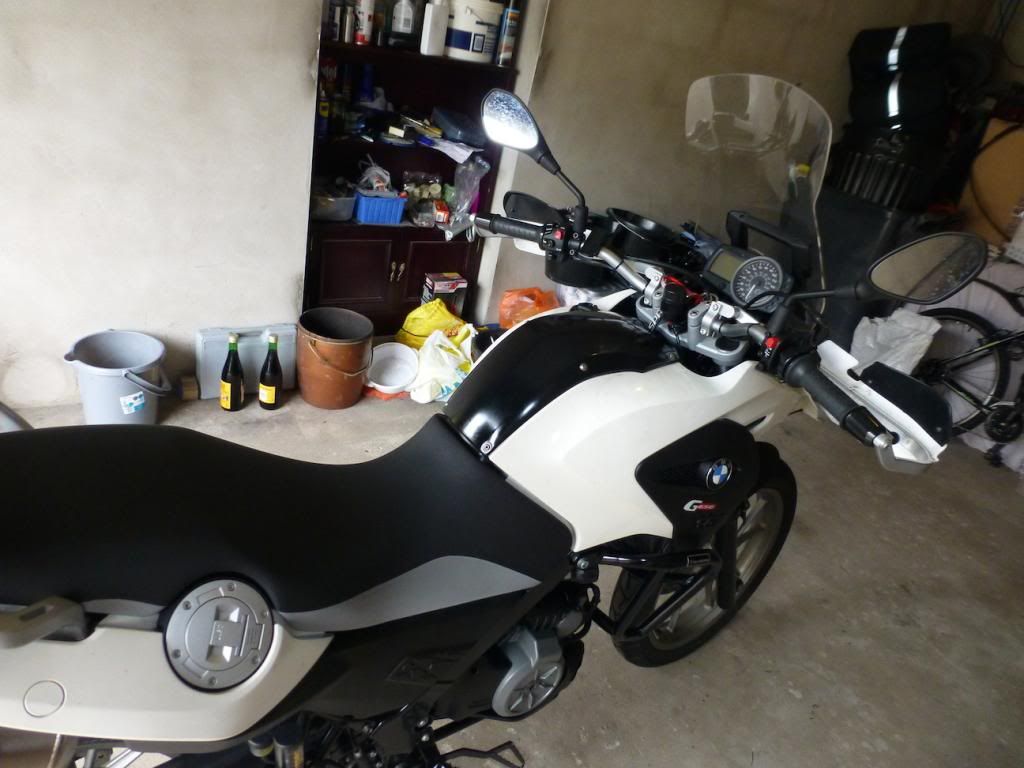
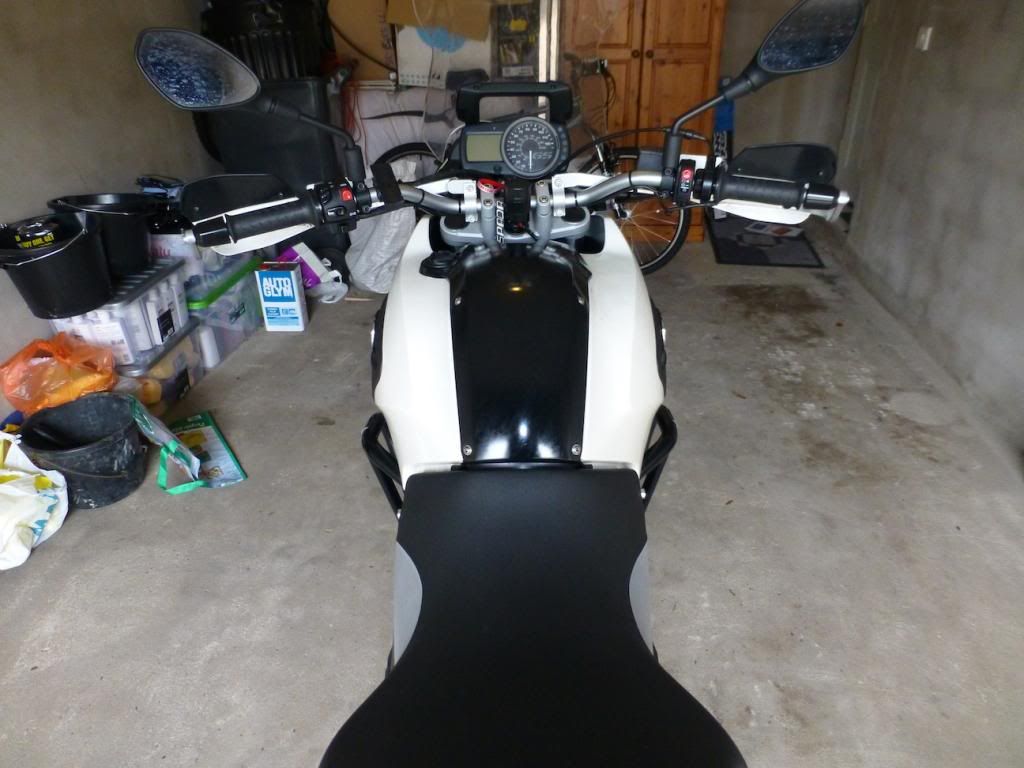
 photo P1080274_zpsc62b8d53.jpg
 photo P1080275_zpsa50d136f.jpg
 photo P1080276_zpsf0831661.jpg
 photo P1080277_zpsae542e6d.jpg
 photo P1080278_zps6d5a35d7.jpg
 photo P1080279_zps7a0fd3d9.jpg
 photo P1080280_zps7e2eca6a.jpgSo as far as I am concerned these 3 simple modifications made a huge difference to the bike. The tank guards did just that no more needs to be said, the wide pegs make long days on the bike so much more comfortable, if if you have to go standing, much much safer and of course stable and more comfortable. In fact if you intend to do any riding whilst standing on the pegs, wide pegs are a necessity, it is that simple! Finally the screen – a great job, long days on the bike become so much easier. Buffeting is dramatically decreased and passing a lorry or bus on the motorway becomes much less of a worry.

As can be seen from the gear I bought it doesn’t have to cost the Earth to preform these simple modifications, and the question I got asked most re the pegs was do they feel sturdy and strong. Take it from me as a big biker, the pegs are fine, they held me without issue, and if they hold me at about 17-18st I’m sure they will hold you too!

Unfortunately however all was not plain sailing. I also bought some Rigid Industries Dually Auxillary Lights, just to make night time riding a little more tolerable. I did a lot of research on which lights to buy and came to the conclusion that these were the lights I was looking for. User reviews consistently rate them highly, all across the world, and no one who I spoke with that had a set could speak badly off them. They are extremely bright, extremely durable and extremely tough, and by all accounts plug and play simplicity sets them up. Unfortunately I never got that far!

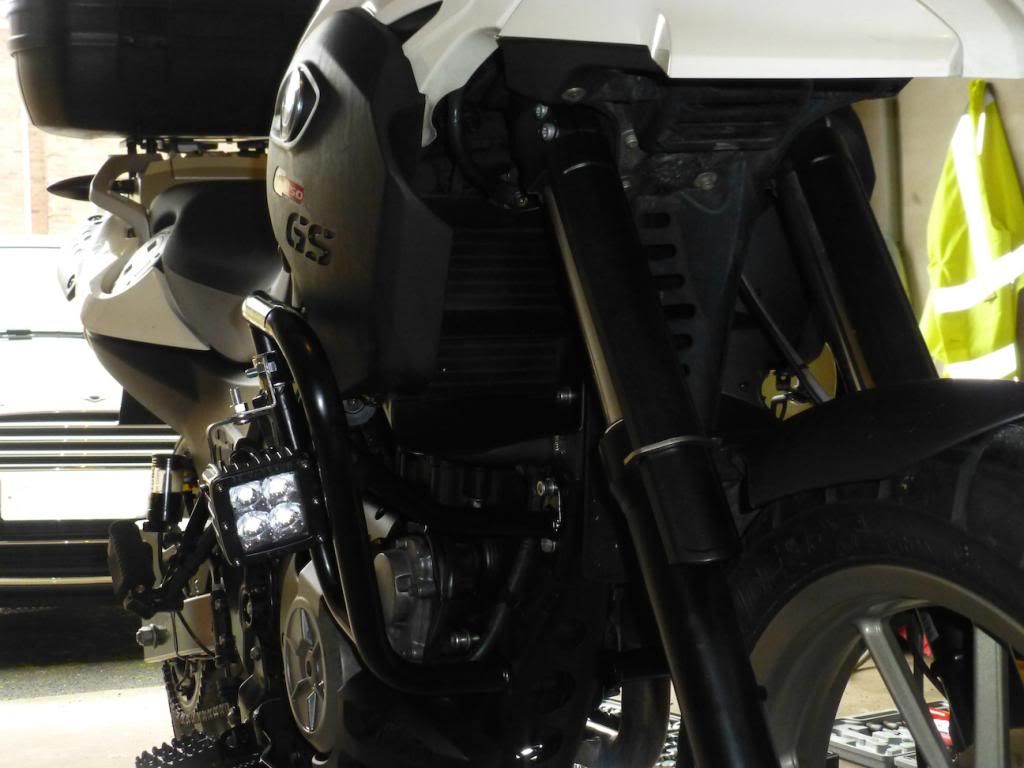
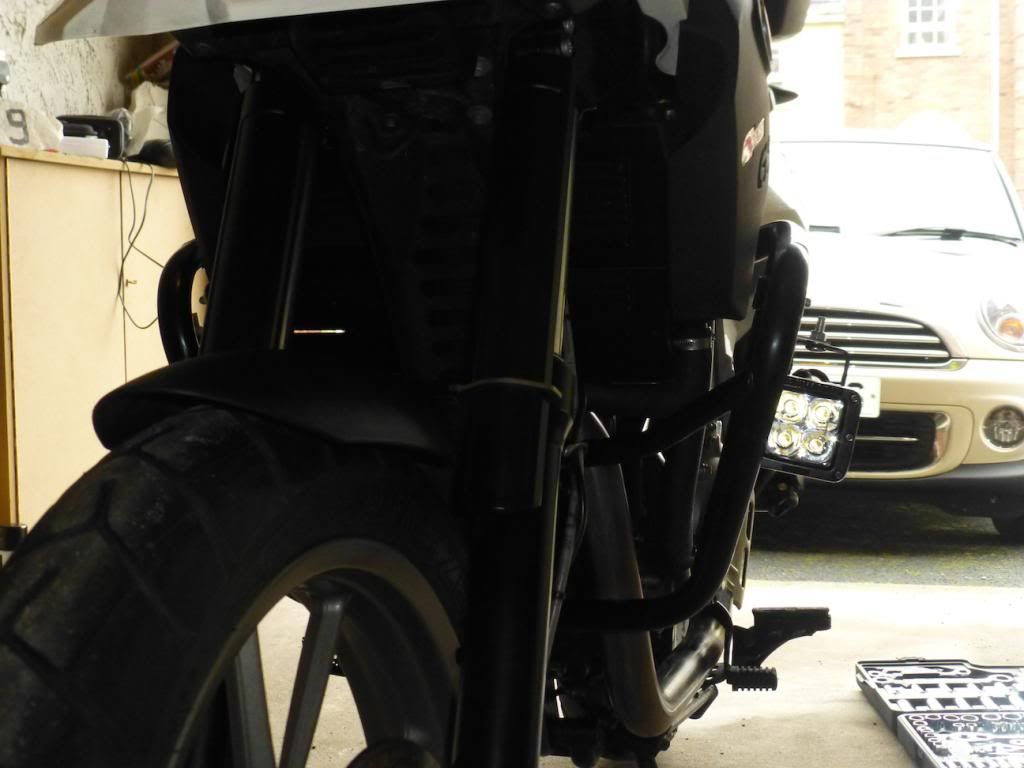
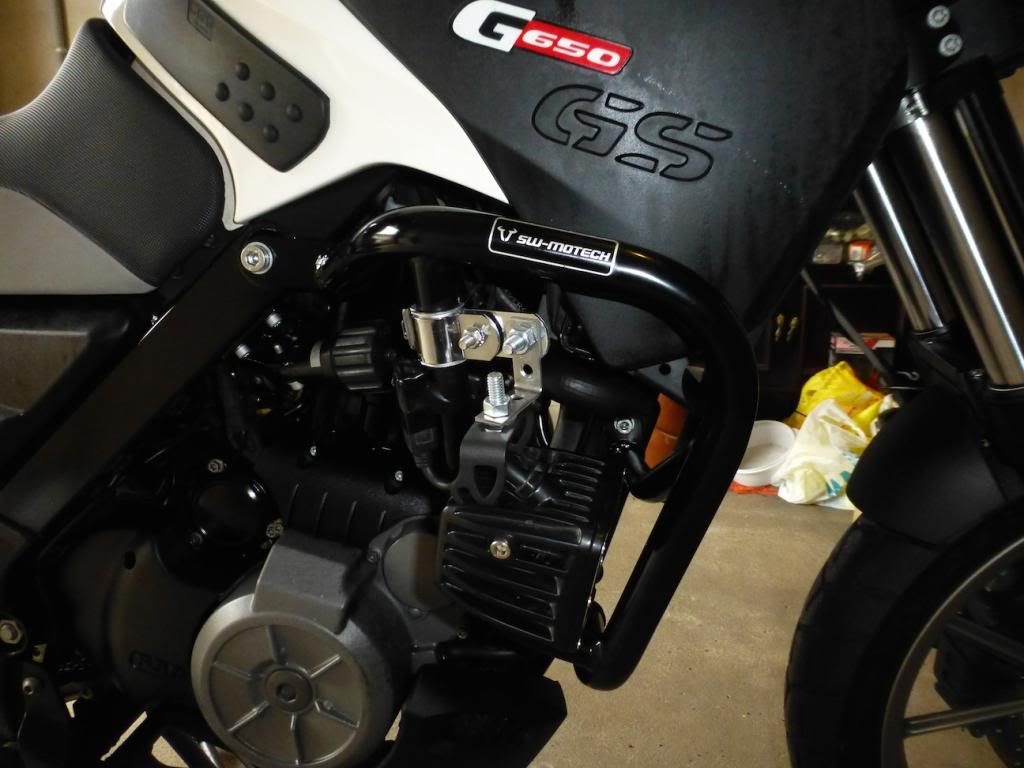
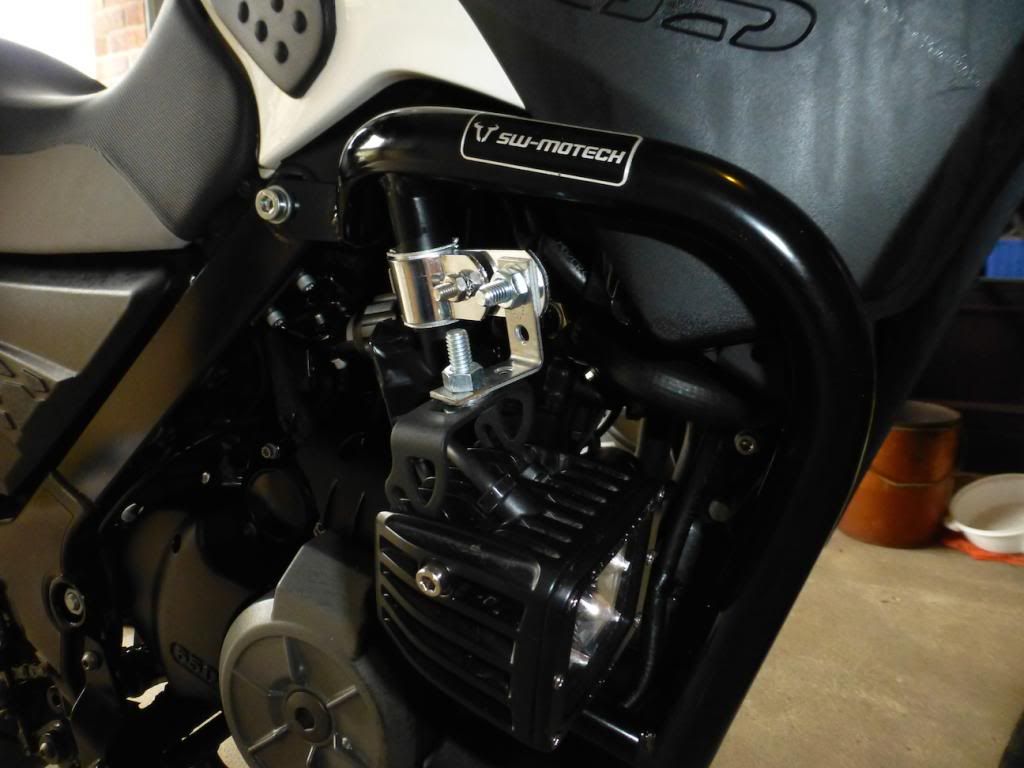
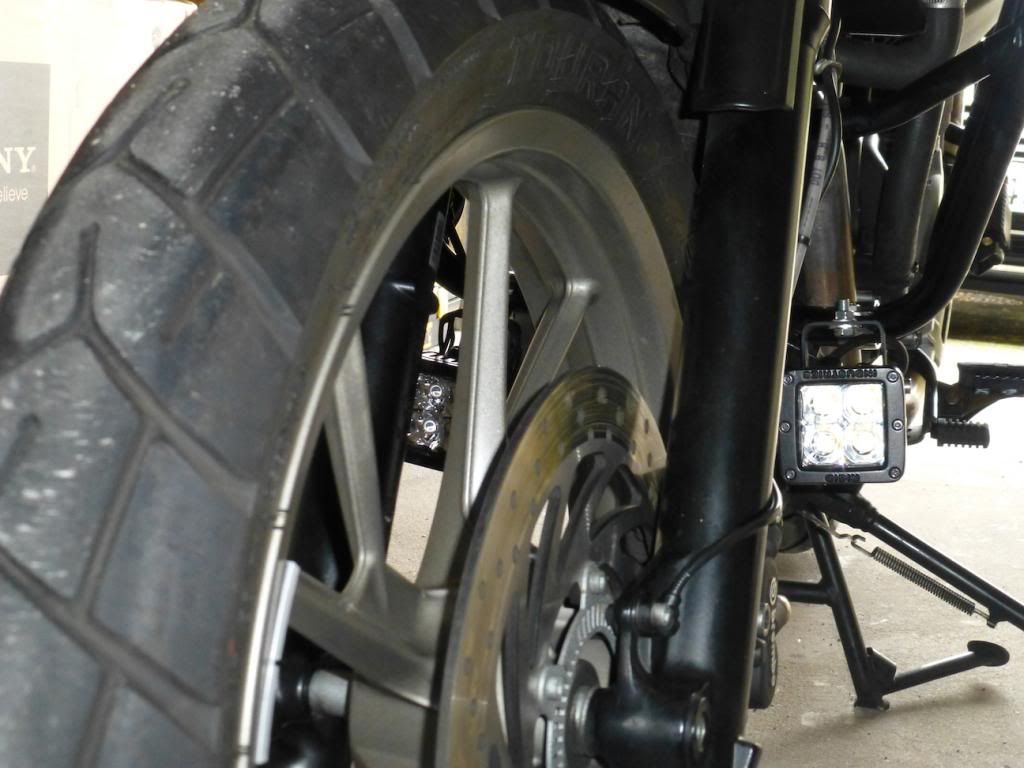
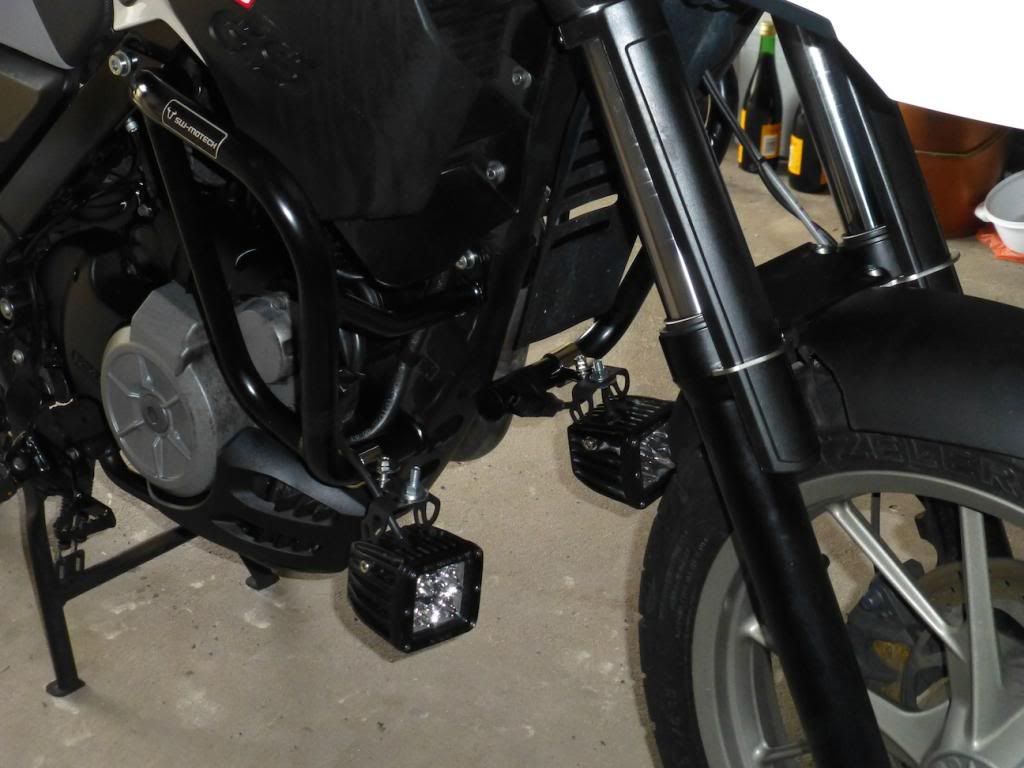
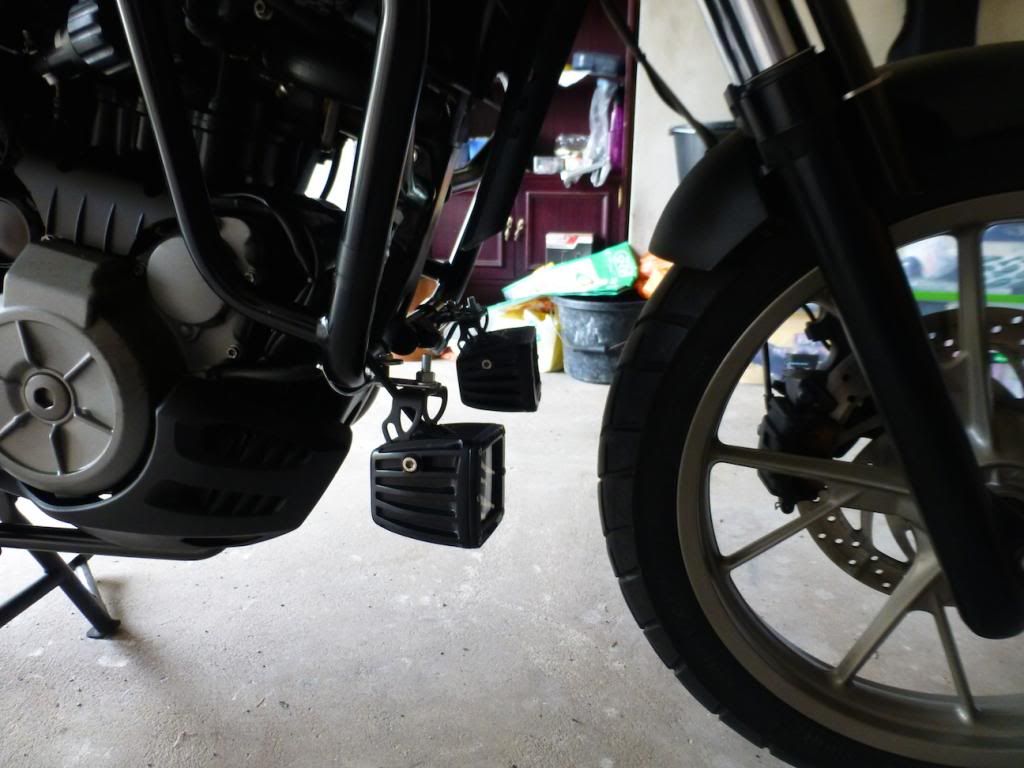
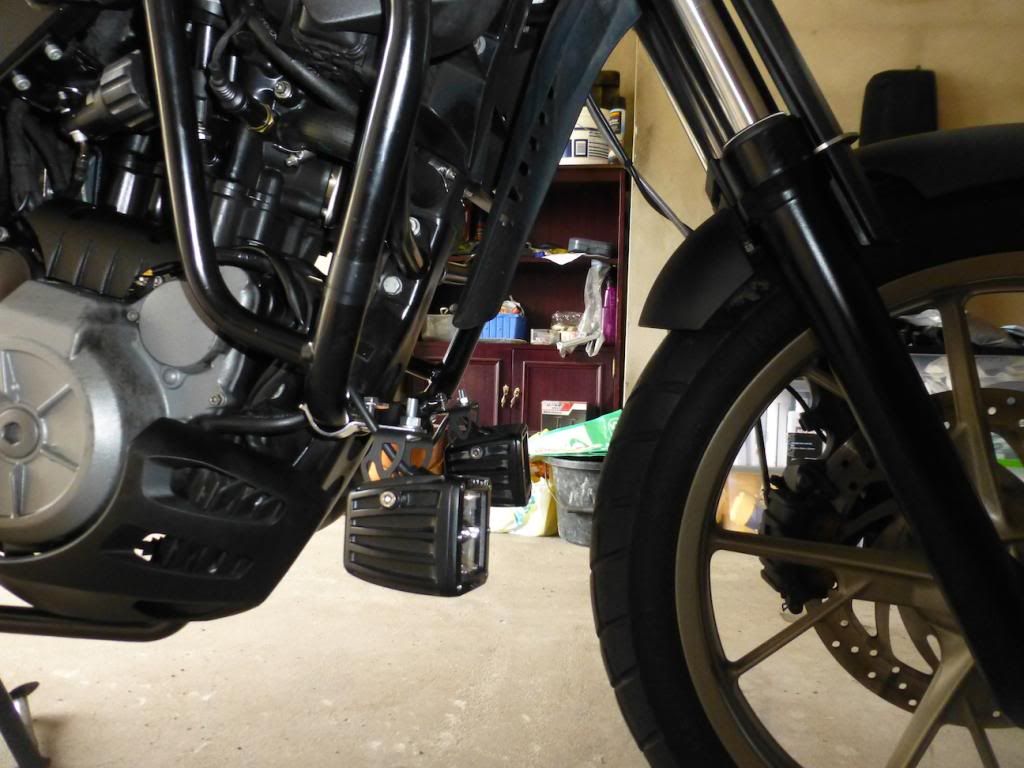
For me the issue was where to mount them. The G650GS is a reasonably small dual purpose bike, there simply isn’t much spare room kicking about on it. That means mounting options are very limited. I was reduced to the option of mounting them on the crash bars.

Initially I went for the side of the bars, it was then, rightly, pointed out to me that in the event of a spill you could be forcing the lights into the engine. And the fact that these things are so tough you will do damage to the engine of they go crashing into it.
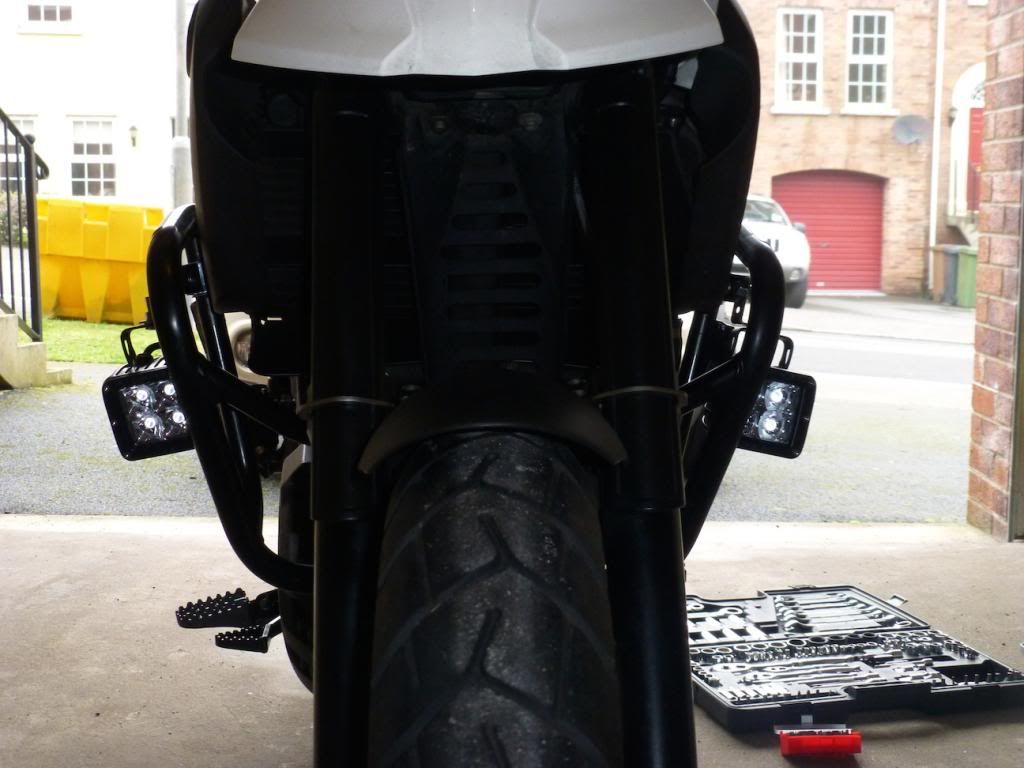
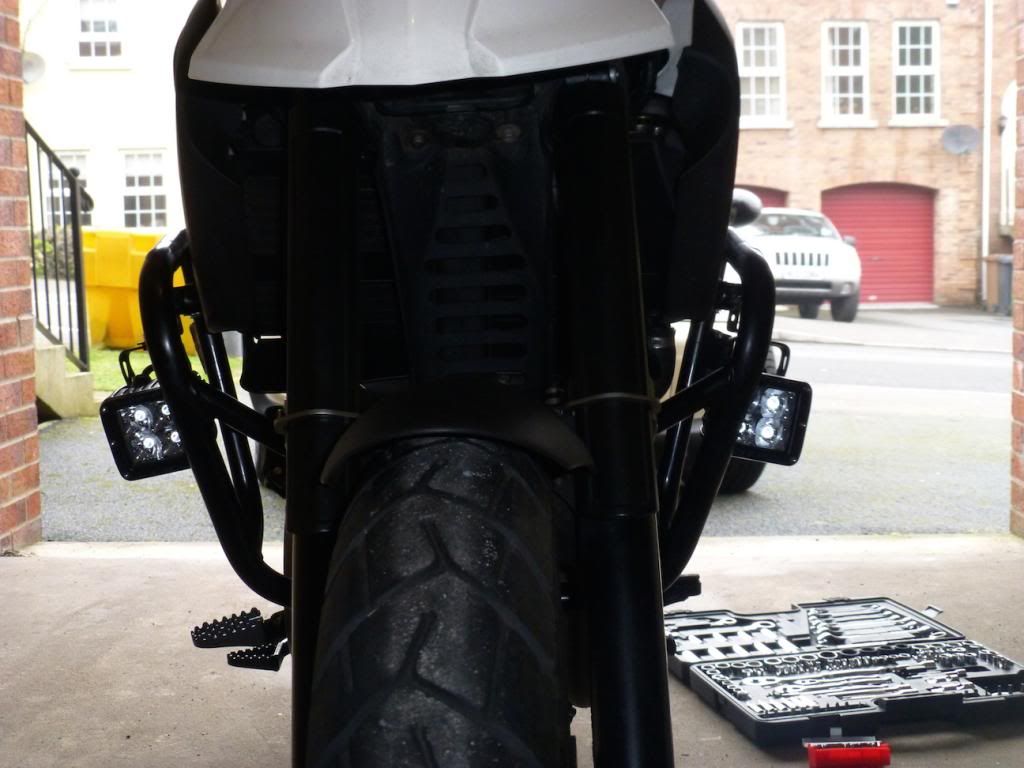
 photo P1080281_zpsa4bcc7f3.jpg
 photo P1080282_zps62d91082.jpg
 photo P1080283_zps41d81253.jpg
 photo P1080285_zps9bbff743.jpg
 photo P1080286_zps1c2624a7.jpg
 photo P1080287_zpscc4f8d80.jpgMy next option was on the bottom of the bars but as you can clearly see the clearance was an issue and then wiring them up and getting the light throw correct was just going to be a nightmare.
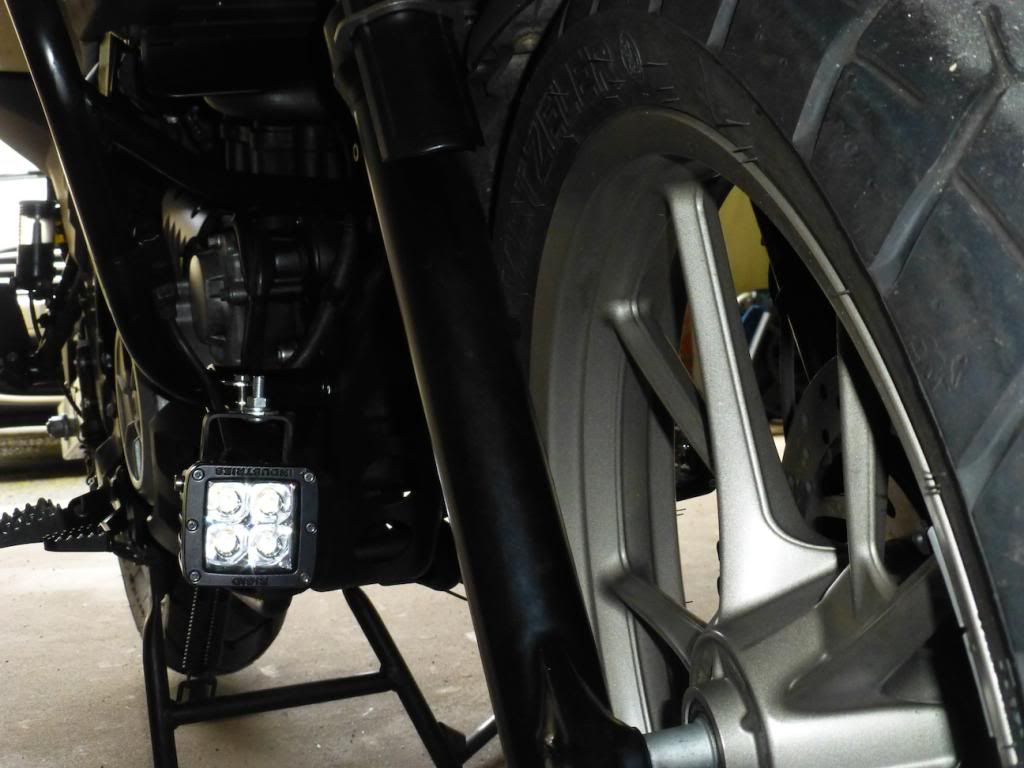
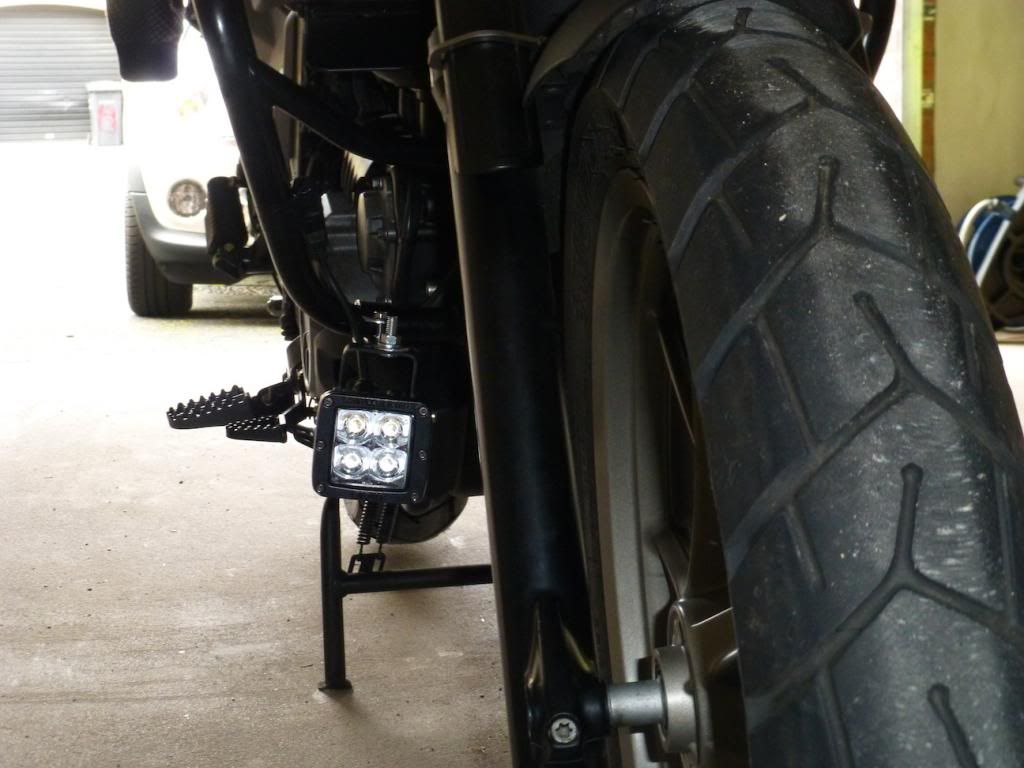
 photo P1080290_zps5f735ad8.jpg
 photo P1080293_zps2dd93403.jpg
 photo P1080294_zps5c3fbf87.jpg
 photo P1080296_zps128cf940.jpg
 photo P1080297_zps27e12aab.jpg
 photo P1080298_zps5de6100b.jpgUnfortunately thats where the story of the lights ends, I never got them fitted, and then changed my bike. The new bike having aux lights my Rigid Industries Dually Lights became surplus to requirements and I sold them on. Just prior to that I was looking at getting a custom mount made but that never developed.

If you are the owner of a G650GS with Rigid Industries Dually lights fitted get in touch as I would love to see them fitted and get an opinion from an owner as to how they work for them.

Anyway that concludes my G650GS story and as I have said I have changed the bike and will be adding more info in relation to it soon, as well as doing a little bit of Moto Vlogging, so stay tuned for that, and thanks for reading!
Apple Release Removal Tool for U2 : Songs of Innocence Freebie

Along with the release of the Apple iPhone 6 and 6 Plus last Tuesday (09/09/2014) Apple finished their Keynote Speech with a performance from U2, probably one of the biggest groups in the world ever. Then they announced that the U2 Album would be given away, for free, to every Apple Account holder (for a few weeks anyway – A deal that has been reported as costing Apple up to $100,000,000 – one hundred million dollars).

I know that Apple have hundreds of millions of dollars and are about to make hundreds of millions more as the demand for the new iPhone 6 and 6 Plus rapidly gains steam and momentum, but come it’s a freebie!

Also I have to say I am not a U2 fan, at all, I can tolerate them, but this is an album I never would have purchased.  But come on it is a freebie!

So I would like to firstly say, ‘Thanks Apple, not really my cup of tea, but it’s a nice gesture and I do appreciate the gesture.’

However the headlines that have dominated this gesture, this freebie, have been ones of anger, unhappiness, privacy invasion and even rage…

For me, personally I don’t care, I’d like to get free albums a lot more often from Artists and Companies, but if you are one of the ones who feel violated, enraged or even just that you want rid of it off your device Apple have now released a Removal tool which you can find here :

Apple U2 : Songs of Innocence Removal Tool.


Screen Shot 2014-09-16 at 10.51.02


There we go, problem solved and the New World Order can be restored!

Moto VLog Coming Soon!

Moto VLog Coming Soon

I have decided to dabble a little into Moto VLogging, and I will be commencing series 1 of it soon!

I have realised that I often have a lot to say and I also really enjoy my bike so why not get out, show you guys some of the stunning countryside we have and put the world to rights through the power of speech and the medium of video!

I hope some of you at least will join me on this journey so just subscribe to this blog, bookmark the page or subscribe to me on YouTube to ensure you get all the updates as they happen.

Now it is just a matter of waiting for the kit to arrive!

Oh and if you’re wondering the chariot I will be riding will be a 2014 BMW F800GS Adventure Travel Edition.

How to Replace / Install PS4 Hard Drive

The PS4 is a cracking’ machine. Brilliant in fact. But really, Sony what were you thinking with only giving us a 500GB hard drive. ‘Oh it was to keep costs down,’ you will no doubt reply, but that is a bit of a false economy, as the costs go back up when we have to replace our HDDs ourselves.

It also to be far has been a bit of a slow start for me when it comes to PS4 gaming as at this moment in time I simply have the games that came free with PS+ as well as The Last of Use Remastered, Wolfenstein, Sniper III, Call of Duty, Battlefield, Infamous Second Son, Watch Dogs and Killzone. So a reasonable mediocre collection at this point, so imagine my surprise when I checked my free space and noted I had had 92GB out of my initial 500GB left!

Well all that meant was it was upgrade time.

The story is not that simply however. As in the past, probably January (isn) 2014 I did try to pre empt this situation and took it upon myself to do an early upgrade to limit the hassle of re-downloading all of my games and game data. however back then I was one of the PS4 users who couldn’t upgrade to 2TB. The reasons for that were that at that time Seagate made the only compatible and affordable 2TB drive for PS4. However it came in an enclosure, you had to take it apart…

That wouldn’t put me off however and I did purchase it back then, that’s when the problems arose. It was quickly established that if you cracked open your PS4 and found a HGST drive staring at you chance were that the Seagate drive was going to be incompatible with your system. Basically there was ‘handshake’ issues between the hardware, but I won’t bore you with that as now it is all thankfully ancient history! (Workarounds were present but I like things to work right 100% of the time, so I shifted the drive on to someone who could use it properly.)

So after a bit of reading I established with a degree of certainty that I could live with that the hand shake issues that were previously present were now gone. No matter what drive you had in your PS4 the Seagate 2TB M9T drive was / is now 100% compatible.

That’s all I needed to here, and off to the shops I trekked picking the drive up for £69.99 and back to the house I hurried to try it out.

Read more

Otterbox Preserver for iPhone 5s UnBoxing and Video Water Testing

I am always on the search for the ultimate phone case, and with my work and hobbies of riding a motorcycle I require something tough, something that will stand up to the elements and most importantly something that will keep my phone in absolute pristine condition!  Bulk doesn’t bother me and in recent times my favourite case has been the Otterbox Armor.  I had it for my iPhone 5, and it took me from the fine shores of Northern Ireland to the finer shores of Florida.  It took me through every theme park and thunderstorm Florida could offer and it never missed a beat.  Admittedly it was a beast of a case, but I was fine with that.  Nothing was beating it.

Since then and getting an iPhone 5s I have been looking for the same thing.  I have tried many cases since then, most recently was the Tech 21 Special Ops Combat case.  And to be fair to it, it is a crackin’ case!  It felt strong, I trusted it, the only thing it lacked was water resistance and it blocked the fingerprint sensor.  And let’s be honest it is the finger print sensor on a iPhone 5s that differentiates it from a 5.  You have a 5s and you’ll want to be able to use your finger print sensor or at least show it off on occasion.

So now that Otterbox has bought LifeProof and the designs boffins have started working together the inevitable outcome is the Otterbox Preserver.

Anyone who had a Lifeproof Fre case will instantly recognise the Preserver, the similarities are everywhere from the look to the feel, although the preserver feels stiffer, more rigid and just a little bit tougher.  These are all good things, that result in a sleek package.  If you are used to the Armor case this one will feel truly insignificant.

Now I am not one to torture test my phone or a case, plenty of others do that.  I buy a case to prevent my phone being tortured but it is good to know what you are playing with and the stats that the preserver boasts are as follows :

– Two-piece case with snap assembly for easy installation

– Internal foam cushions device and holds it in place inside the caseIncludes an adjustable lanyard for convenient carrying and tethering

– Waterproof: fully submergible up to 6.6 ft. (2 m) for 30 minutes (IP-X8)

– Drop proof: protects device from drops up to 6.6 ft. (2 m)

– Dust proof: blocks entry of dust and debris particles (IP-6X)

Read more

“This copy of the Install OS X Mavericks application can’t be verified” FIX

Just a quickie fix here.

If you are experiencing the above error whilst trying to do a fresh install of OS X Mavericks (from a USB stick) there is a good chance all you need to do is change the date that your machine believes it to be.

So for example it is now 17.15 hrs on 15th March 2014.

To fix this error go to the ‘Utilities’ Menu and run ‘Terminal’ (from within the Mavericks’ installer).

Once in terminal enter the date as follows (of course making it the correct current date and time, this simply illustrates the format)…

date 031517152014

Press Enter.

Now close ‘Terminal’ and attempt the fresh install.

Things should now go your way!

Good luck.

Tar and Traffic Film Removal

As a driver of a white car I am unfortunately plagued by Tar Spots and Road and Traffic Film on my paintwork.

The product that I use and thoroughly recommend is ‘Holts – Tar and General Spot Remover.’ It costs about £5 and the results are excellent. However it is a little messy and reasonably time consuming. In basic terms I use it as follows :

1. Pre wash with the power hose.
2. Snow Foam.
3. 2 Bucket Wash.
4. Holts Tar and Spot Remover.
5. Power hose wash and rinse.
6. Another 2 Bucket wash (just to remove any remaining Holts – it is a bit messy).
7. Polish…Wax…Sealant etc…

Holts is really easy to use, simply spray it on the spots, you will notice they almost instantly get darker, wait about 3 minutes and wipe off with a clean cloth. Then give the car a quick clean and at the very least a good coat of polish to protect your newly gleaming paintwork!

Read more

Preparing MicroSD Card for Use in Garmin Dakota 20 (& Other GPS Systems)

Last year I purchased a Garmin Dakota 20 GPS System to use on my Motorcycle and also for GeoCaching. I never really used it. However I have now set up setting it up properly and getting it ready for use this year.

One good point about the Dakota 20 is the fact that it has a expandable memory by the addition of a MicroSD card, which sits neatly behind the batteries. This is a bit of a no brainer really as SD Cards are so affordable now. You don’t even have to go that big as the Custom maps from Garmin are a maximum size of 4GB, an 8GB should easily do most users. One other option is that if you have a lot of custom maps you could buy bigger, store all your maps on the device then move them around into the proper directories as required as your journey progresses. (Pretty much the whole of Western Europe on a Custom Map is squeezed into 4GB).

To utilise this all you have to do is prepare the card.

(One quick tip for when you get set up, make sure you leave the WW BaseMaps Enabled, this will give you at the very least a base map whilst your detailed maps load, removing any white screens that you get as loading occurs, it is purely cosmetic, just nicer to work with!).

To do this follow these simple steps.

1. Format your MicroSD card as FAT32 (FAT MS-DOS on a Mac)
2. Rename the Card – ‘GARMIN.’
3. Create a folder named ‘Garmin’ in the root directory.
4. Any Map files with the extension ‘.img’ are placed in this directory.
5. Copy the File Structure from your Actual Garmin GPS to that of your Freshly Formatted SD Card. The folders named below are all within the ‘Garmin’ Root directory.
6. The ‘CustomMaps’ folder will contain any ‘.kmz’ files.
7. The ‘BirdsEye’ folder will house any ‘.jnx’ files.
8. The ‘GPX’ folder will be the home of waypoints and so on just as the Garmin was itself.

garmintransfers

iTunes Updating Apps – Auto Update of Multiple Apps

iTunes (at the time of writing this is iTunes 11) has changed the way you update your Apps.

Previously you clicked on the Apps Tab in the left hand column then towards the bottom right of the screen the was an ‘Update All’ Button that has now gone.

You will now notice that in your apps listing the icons of apps that have an available update have a nice wee tag in their upper left corner.

So to update all of your apps in one go here’s what you do, don’t fret it is easy!

1.  Below you will see the new look ‘Update’ Flag on the relevant icons.

2.  You will see the new ‘Updates’ Tab at the top.  Click it!

 photo 20140112001_zps89de73e2.jpg

All Apps that have an available update will now be shown…

 photo 20140112002_zps613b907e.jpg

3. Click ‘Update All Apps.’

That’s it your done and on the way to be fully updated again!