#WAWIn1Week – Completed!

Just by way of a quick update I have finished my trip of the Wild Atlantic Way in 1 Week. 

It was an epic journey along the West Coast of Ireland and I will be posting a full ride report very soon, but in the meantime please have a look at my Twitter and Instagram accounts where you will find a large selection of photos using the hashtag #WAWIn1Week

I will also be uploading my complete route from my GPS in case anyone fancies doing the same route. 

If you do fancy doing it let me know as I am considering am starting a wall of fame for the adventurers who complete this journey in the timescale. 

Believe me when I tell you it was tough. 

#WAWIn1Week

#WAWIn1Week – Wild Atlantic Way In 1 Week – Day Zero Travel Day

 photo 9DE6D4A4-570B-43CB-9154-A0AFEC94E003_zpsek72tid4.jpgToday my journey along the West Coast of Ireland begins.

I was planning on waiting for the perfect weather but so far this summer has been terrible and there is no sign of an imminent improvement!  So I decided it was time to bite the bullet and go for it.  I booked the time off work and today is Day Zero.  I call it that as it isn’t really a day on the Wild Atlantic Way.  It is just a day of travelling to get to the start of it. So after 260 miles and 1.25 tanks of fuel I finally have arrived at Kinsale, County Cork.

So far I have experienced every possible weather except snow and ice! The first 90 miles of my journey were wet, nah they were soaking wet, wet is actually drier that how wet it actually was!  If you can work that out, and as a chap in a garage said to me, ‘At least it can’t get any worse.’  After that it got dry and windy, which I welcomed as it dried me out quite nicely and just as I got dry it got wet again, only this time wetter!  Visibility was about 100 metres at best, it could only be described as grim, really really grim! Then I got to Cork, the rain stopped and the sun actually came out.

I arrived in Kinsale, Co. Cork which is a gorgeous little harbour town.  It has loads of quality Irish bars and with it being a Sunday night every one of them was pumping out live music, the town was buzzing!  It really is a crackin’ wee place, with loads of bikes zipping about and loads of tourists hopping from pub to pub. I threw my stuff into B&B and found a chippy called Dino’s and if you are ever here it is simply a must!

Then I took a walk about the town snapping a few photos before retiring for the evening to do this, update the Twitter and Instagram to set me up for a good night’s sleep before actual Day One!

Read more

Grip Puppies Installation – BMW F800GS Adventure

Grip Puppies are a well regarded, and cheap, addon for your bike that is designed to increase grip and improve comfort mainly by cutting down the vibrations that travel along the handlebars, through your hands and into your arms, often leaving you with that horrid tingling feeling when you get off the bike.

Coming in at a mere £15 they are definitely worth considering.  I have had them on my bike for about 1500 miles and at this stage I can confirm that they absolutely increase comfort and decrease shaky hands at the end of a trip (or even earlier).  For me they don’t eliminate the sensation completely, but they definitely cut it down and ‘recovery’ time is far less.  That has to be a bonus!

There is one negative, if you have heated grips these will decrease the efficiency of them.  The heated grips will still work but it will take noticeably longer for the heat to reach you and they will appear to have a reduced temperature.

Read more

TomTom Rider V5 Hardwiring to BMW Can Bus Port (Aux Port / Sat Nav Port)

BMW very kindly supply you with a Can Bus Supported Auxiliary Port on a range of their bikes that means you can easily wire your Sat Nav into the bike, meaning it will be powered from the battery of the motorcycle, however when you turn the bike off the Can Bus System then shuts down the power to the sat nav a short time later resulting no power going to the sat nav cradle and no battery drain.

Well that is the theory anyway, however some users have experienced battery drain and blame this set up, claiming that the Can Bus System isn’t compatible with their Sat Nav. That may be and BMW won’t say officially if that may be the case, stating only that their ‘Sat Nav’ port is for use solely with their Navigator System, and why not if you want to be 100% sure that everything is going to work beautifully together then you need to hand over £700 for the privilege.

Read more

2015 Adelaide Motorcycle Festival – Belfast

It has been a year or two (2013 actually) since I have went near this show, but I ventured back today for a look with huge hopes that it had improved since my last visit.

Thankfully it has.  I will address the 2 bad points firstly that I came away with today – firstly £12 entrance fee is just crazy.  That is only slightly cheaper that the NEC’s Motorcycle Live which was simply outstanding.  This show is more like a gathering of dealers, with a range of their bikes that they want to sell you.  Nothing new, nothing revealed, just a load of nice and shiny bikes all in one place to tempt you out of a few hundred quid for the next 36 – 48 months, therefore I think it is a bit cheeky to be expected to pay such a high entrance fee to essentially enter a huge multi-manufacturer’s show room.

Secondly, on your way in you will pass by the ‘Jumble.’  Make sure you go in because there is simply some stunning vintage bikes and cars in here and a few interesting vendors.  However Bad point 2 is also in here.  Some of the vendors are just selling junk, and they genuinely don’t seem bothered.

My eye was taken by two quaint little signs, neither of which held any real world value, I just thought they would look rather cool in my garage.  Heres’ how the conversation went….

Read more

Rugged Roads Headlight Protector for BMW F800GS Adventure

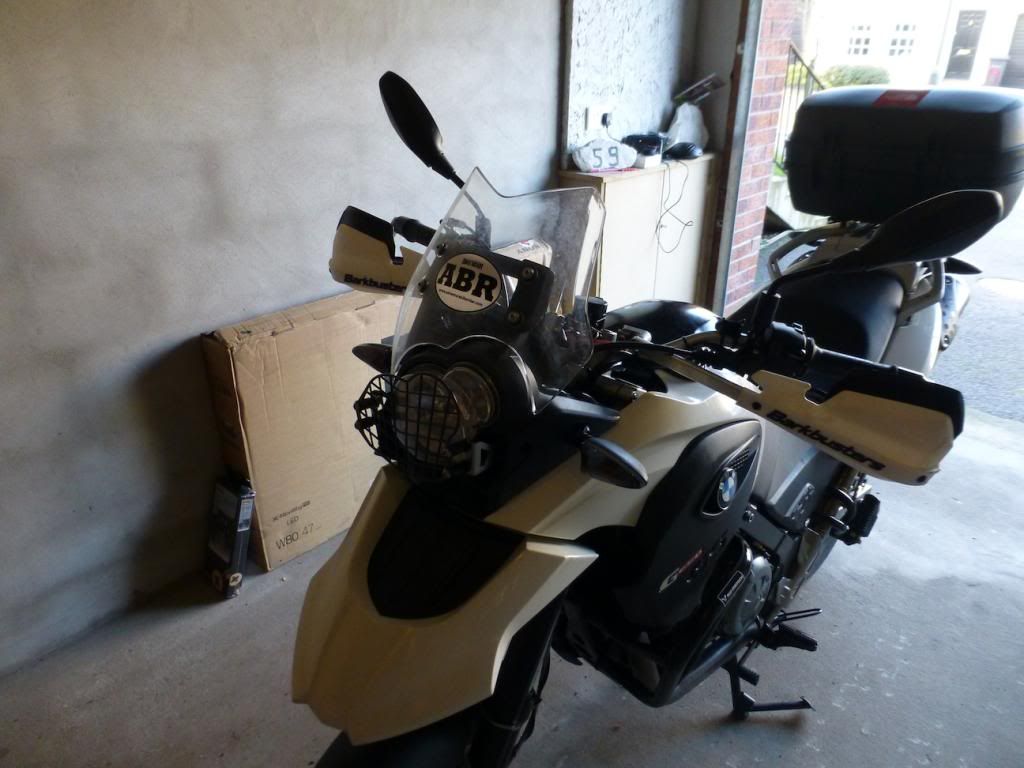
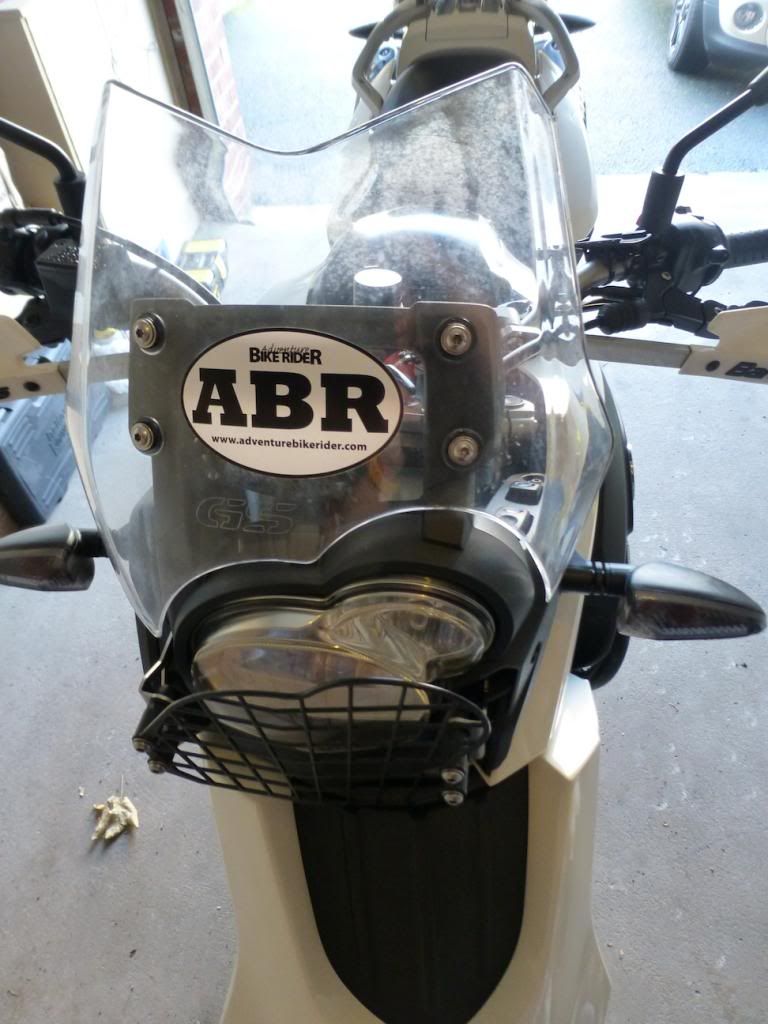
Like all motorcyclists and adventure motorcyclists we all love tinkering and new bits of kit. ABRs more than any I believe love protective stuff, little farkles that protect more expensive items on the bike, are reasonably priced but look mean! Let’s be honest the look of the kit is probably its biggest asset, of course in this case we have a £40 unit protecting a £500 unit, but it looks cool and makes everything else look a bit more serious! And that is half the fun!

Don’t forget the other half though! This is after all a serious piece of kit, it does have a purpose, namely to guard the headlight from stones and debris, and this piece of kit is serious enough to do it! From the second you take it out of the packaging you will feel how sturdy it is, it is obvious that this will protect your headlights from impact of flying debris and it will only have to do it once and you will be very glad you spend the cash!

For your info here are the details from www.ruggedroads.co.uk

Protect your headlights from expensive damage due to wayward stones and other detritus with our heavy duty polycarbonate guard.

We have redesigned our headlight guard to give even more protection to your headlights without defusing the effectiveness of the lights.

This polycarbonate headlight guard has been designed by us at Rugged Roads and is manufactured to the highest quality here in the UK.  We have made the fixing brackets out of Stainless Steel – and the guard itself from Makrolon®

Colour – Clear polycarbonate.

This item fits the following models:
– BMW F800GS – 2008 – 2012
– BMW F800GS –  2013 onwards
– BMW F800GSA – 2013 onwards
– BMW F650GS (Twin) – 2007 – 2012
– BMW F700GS – 2013 onwards

Installation is simple…

Read more

Motorcycle Live 2014 – Birmingham NEC

This year I took myself over to Birmingham for what is meant to be one the best Motorcycle Shows in the UK.  It was my first time over and without doubt I will be booking my tickets ASAP for the 2015 Show.

With a great variety of manufacturers present along with pretty much all the accessories you could safely carry away the show has a lot to see and do.

This year the show piece, in fact the show stopper was the Kawasaki H2 and H2R, and when the track ready version was put on the dyne the show literally did stop!  The ear defenders they were handing out were actually a requirement, if you had any sense!  This bike is deafening, more importantly this bike is impressive!

You can check out my YouTube Video of it on the Dyno below  :

Here is a Gallery showcasing some of the other outstanding machines on display – and check out that Honda ‘Prototype’ – is this the new soon to be released Africa Twin! Hell I hope so!

Read more

BMW G650GS Modifications : High Screen, Wide Pegs, Tank Pads and Aux Lights

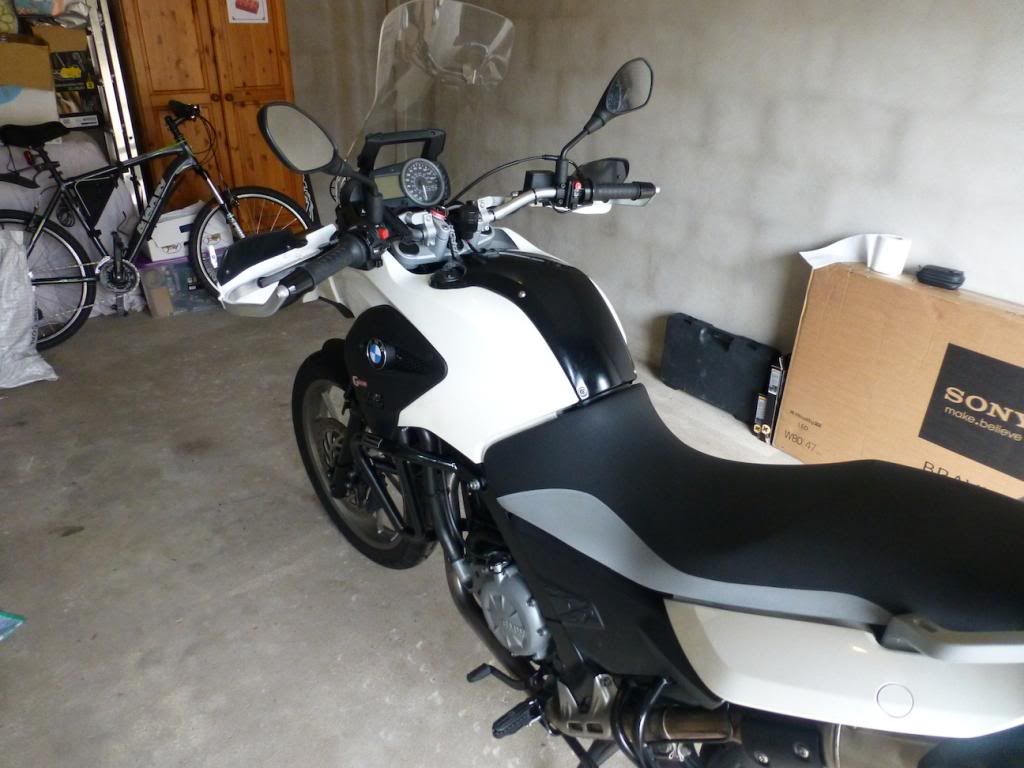
I recently changed my bike, however prior to getting rid of my old one I did make a few final modifications, 3 of them successfully and one not so much.

The BMW G650GS is the baby of the GS range from BMW, but regardless of the fact that it is the smallest it is still a great all round machine. It will go pretty much anywhere and with its punchy 650cc single cylinder engine it is snappy enough, however it goes lack in top end power.

The weight of the bike (in that it is very light – a wet weight of 191kg) means that it is easily managed and thrown about the B-Class roads.

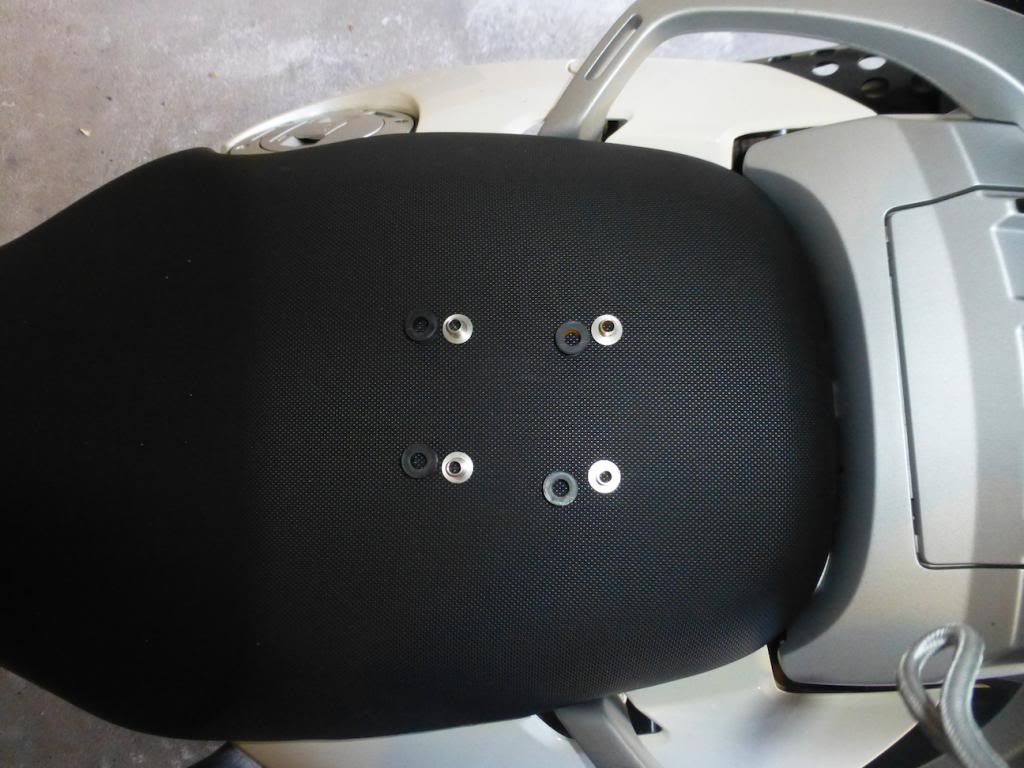
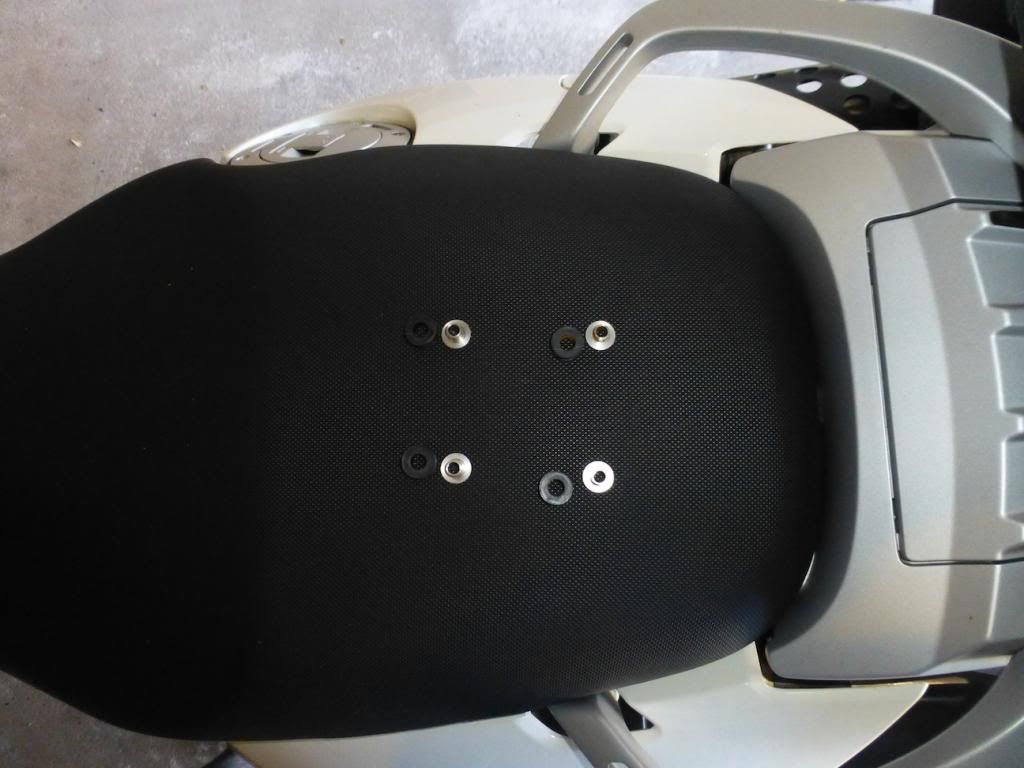
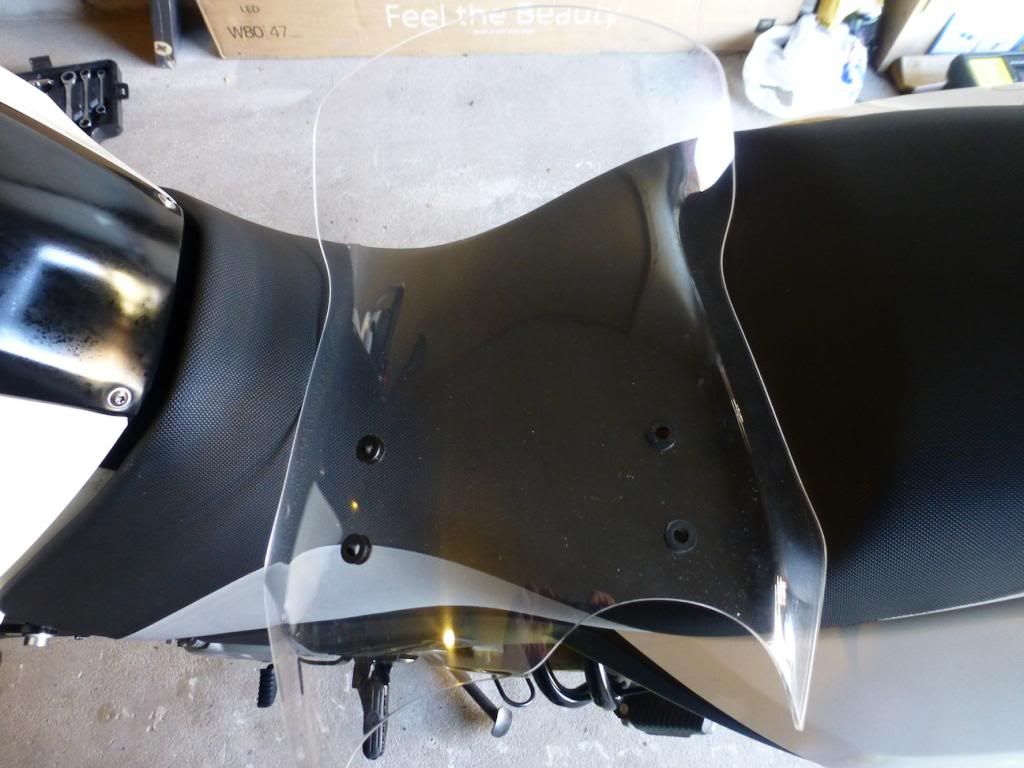
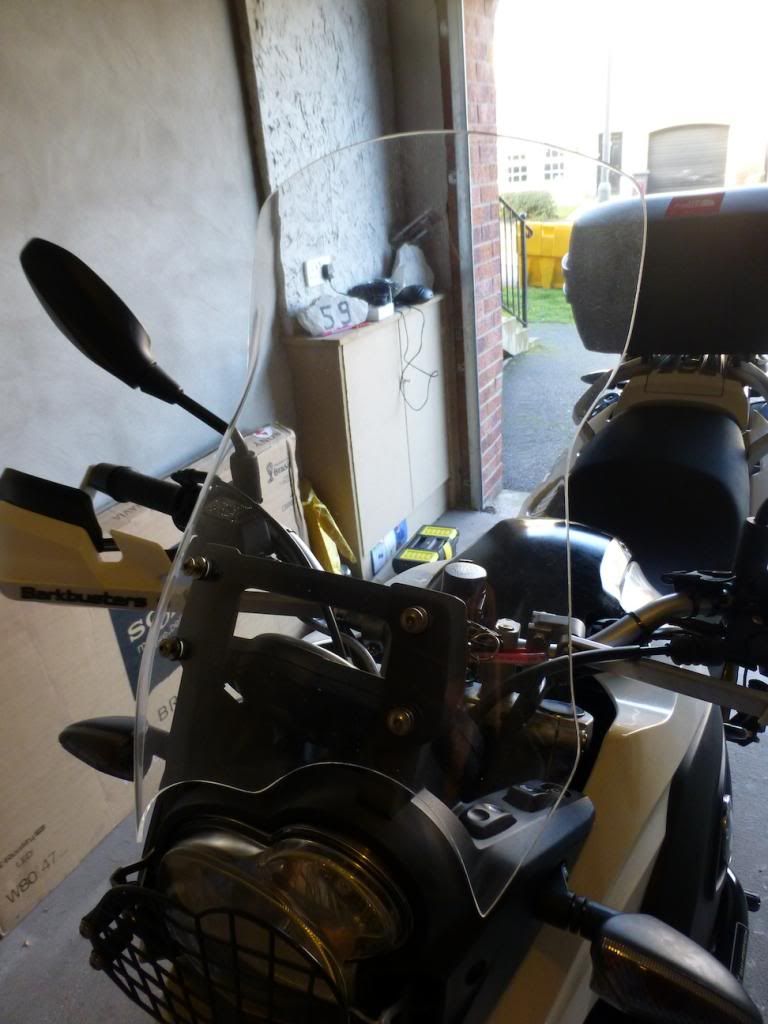
However with it being classed as a dual-action or adventure style bike it doesn’t come with many add ons that other bikes higher up the range take for granted. For me a taller screen and some wide pegs were an absolute must and they came courtesy of eBay.

The screen costing a mere £55, and the pegs costing a whopping c. £25! When you consider ‘branded’ wide pegs come in at around the £200 mark, and a screen being at least £120, these were two absolute bargains and can not be more simple to fit.

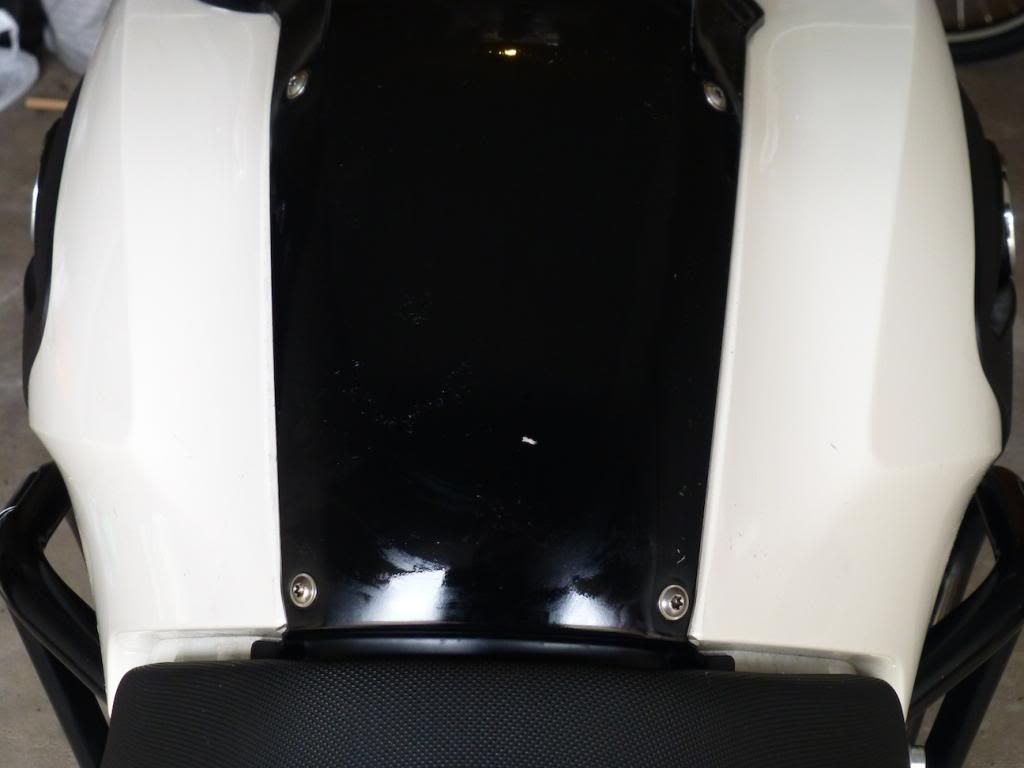
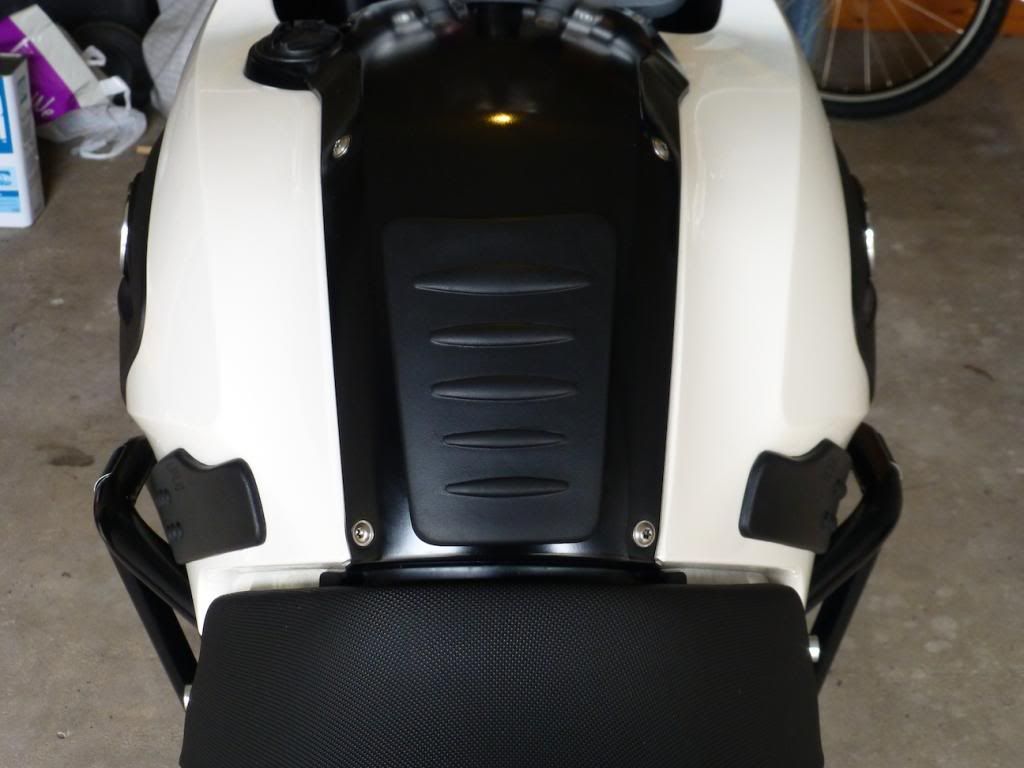
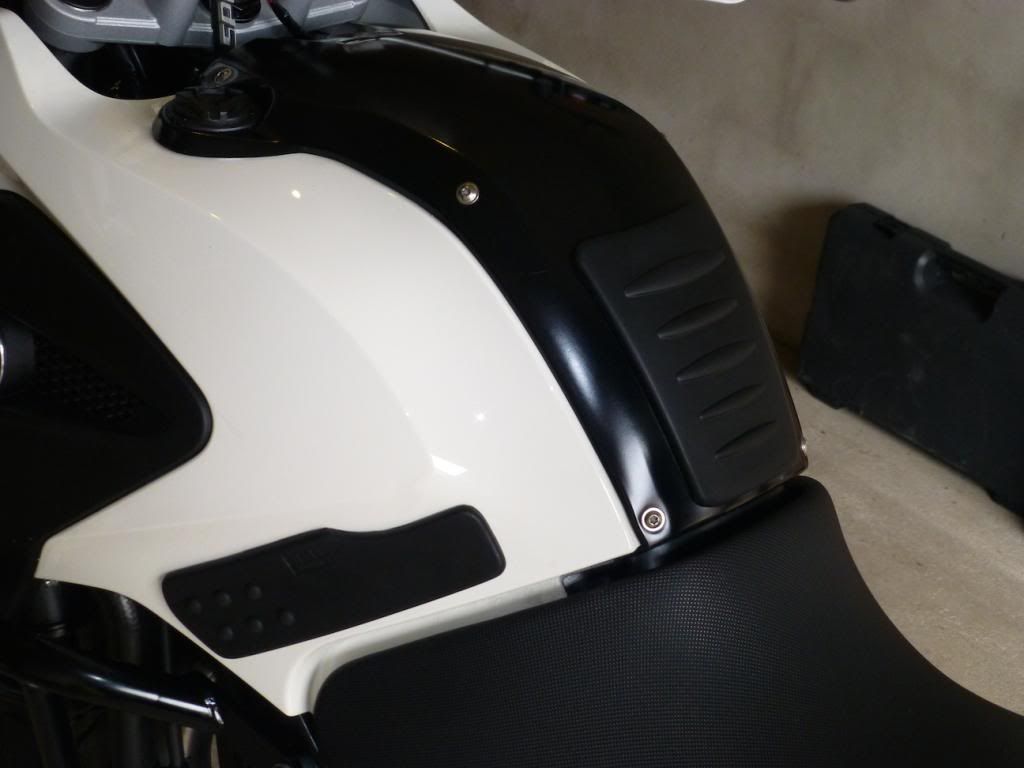
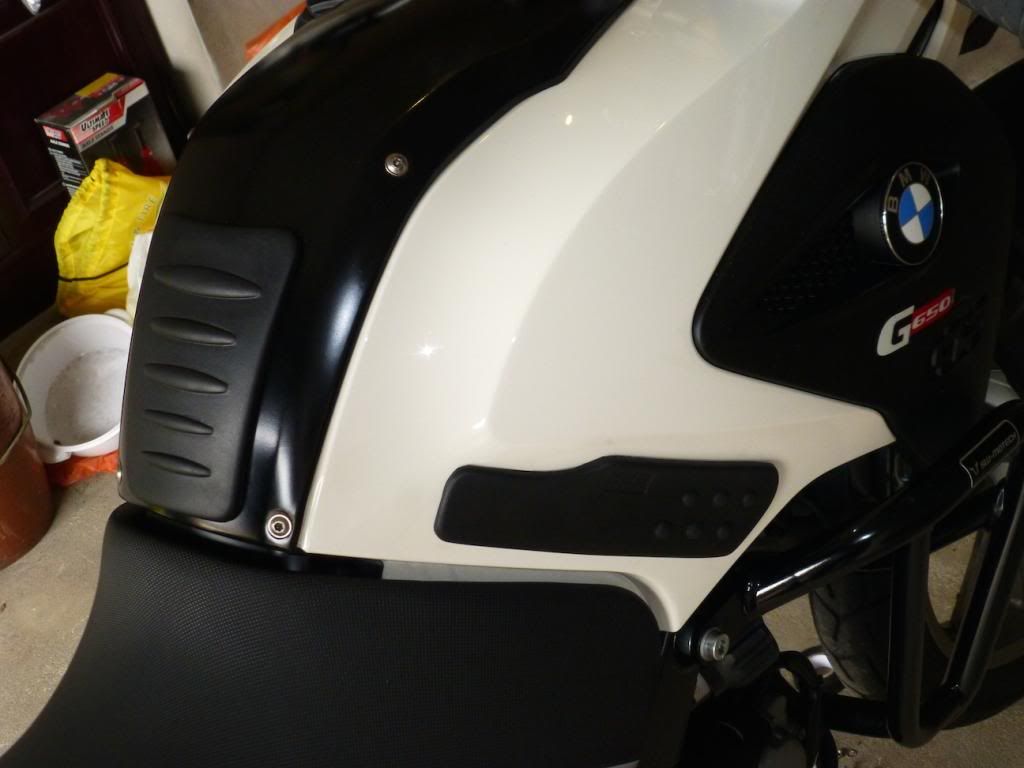
The 3rd successful add-on and another ridiculously easy modification to add was some tank guards, with one purpose only – to protect the tank paintwork and plastics.

Unscrew -> Remove -> Screw back on -> Job done!

First of all we will have a look at the high screen :

The Standard OE BMW Screen :
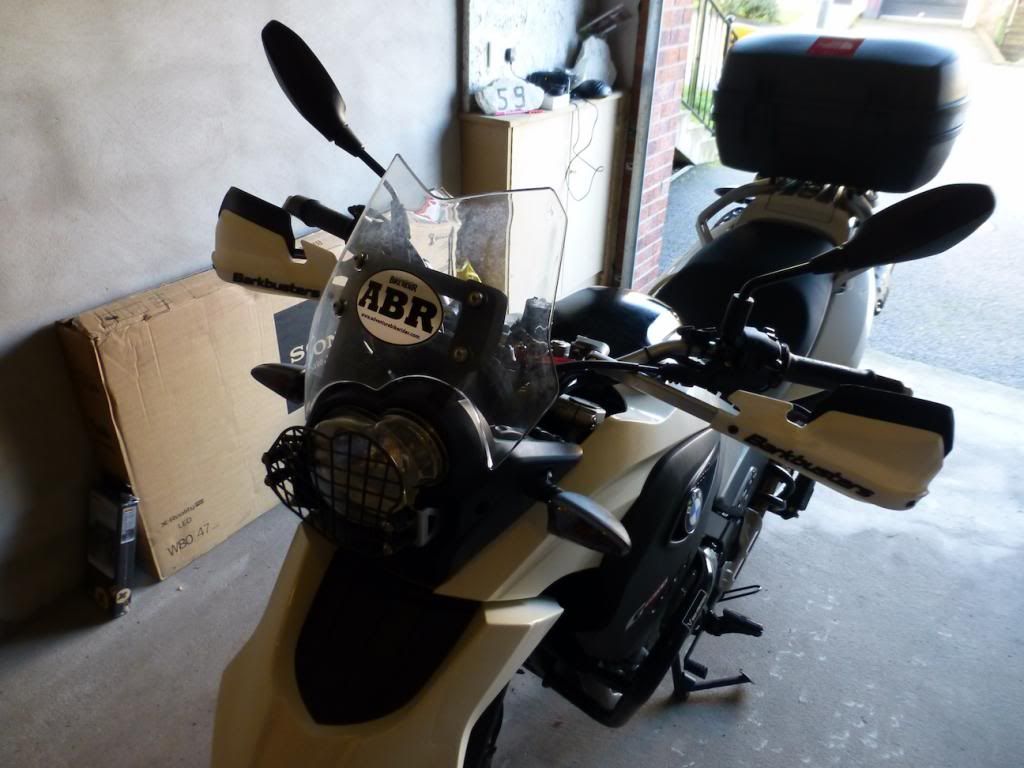
 photo P1080065_zps81d0762e.jpg
 photo P1080066_zpsf6ec7be3.jpg
 photo P1080067_zps50029230.jpgSimply Unscrew, Replace and Screw!
 photo P1080068_zps2b94c834.jpg
 photo P1080069_zps2883e874.jpg
 photo P1080070_zps6b300991.jpg
 photo P1080071_zps52c23c9b.jpgThe New Screen :
 photo P1080072_zps5cad6c09.jpg
 photo P1080073_zpsc402610d.jpg
 photo P1080074_zpsde5224dc.jpg
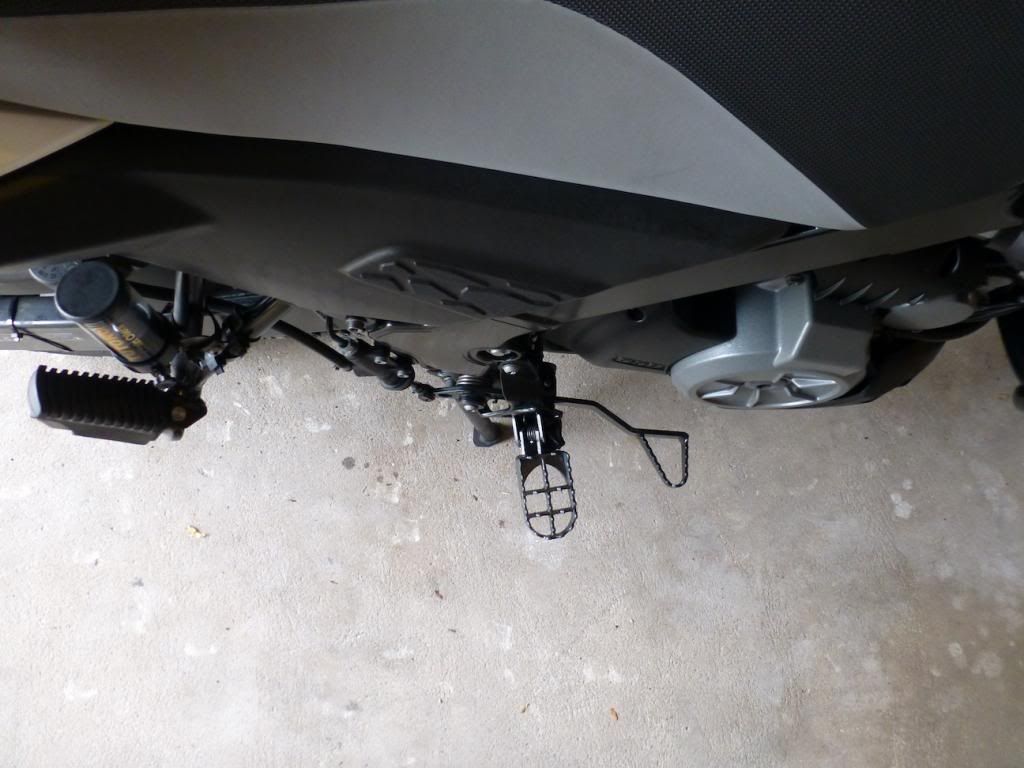
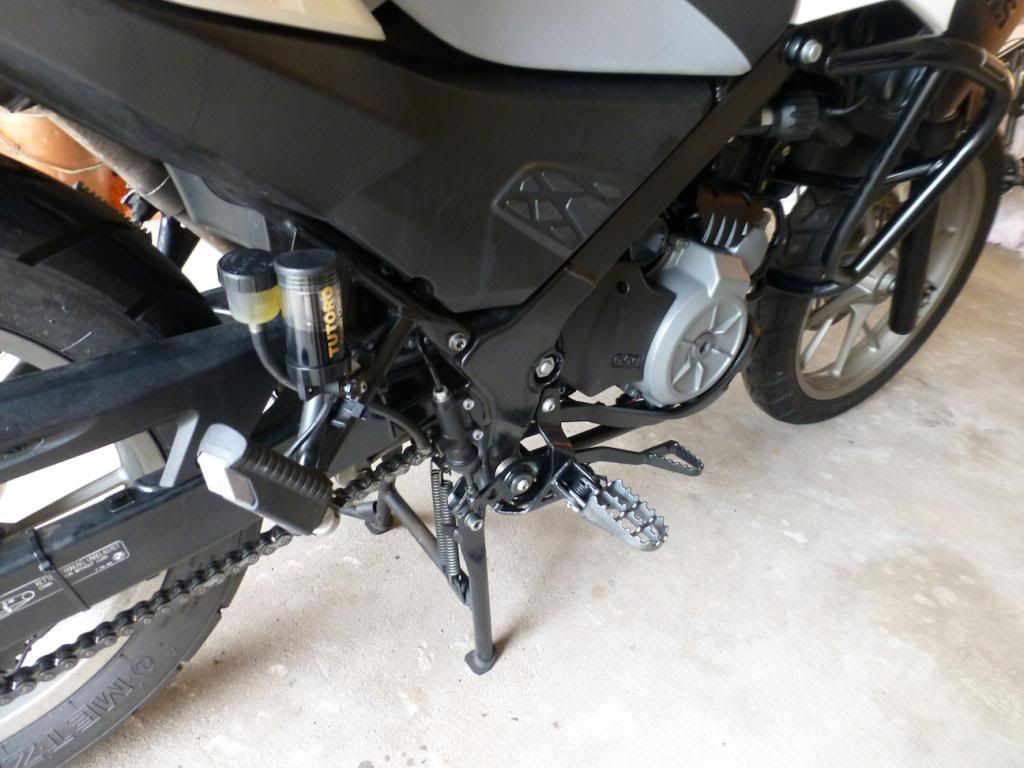
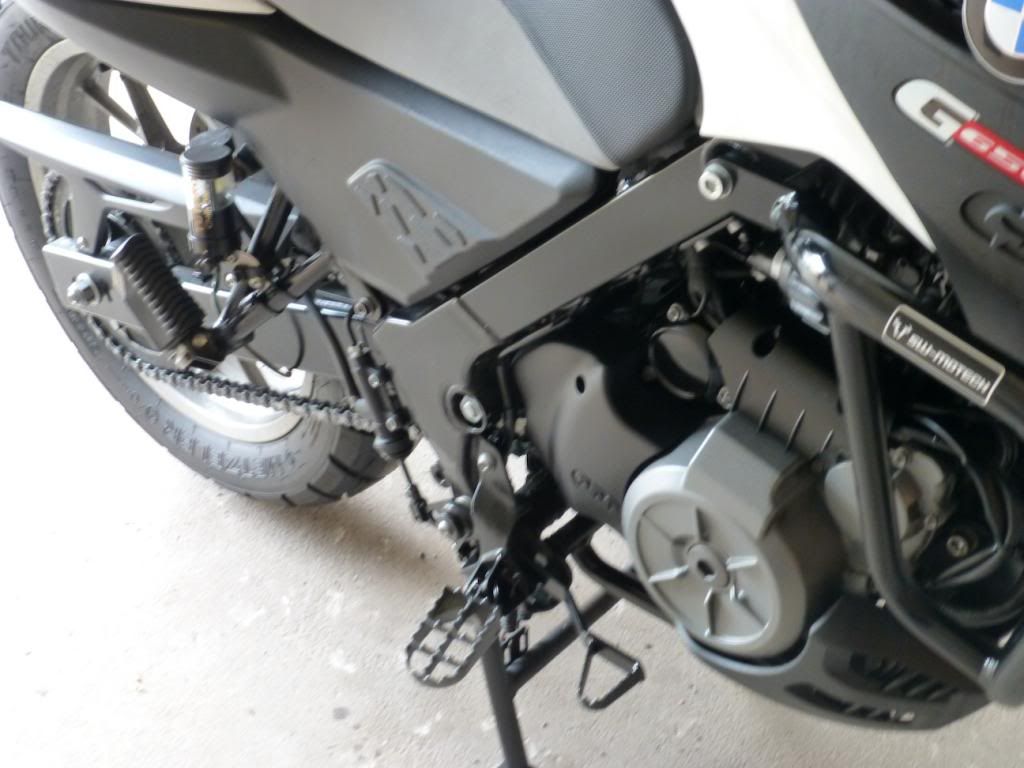
 photo P1080075_zps7a04534f.jpgFollowing the successful and obviously simply installation of the Screen I replaced the OE Footpegs with some new Wide Pegs :
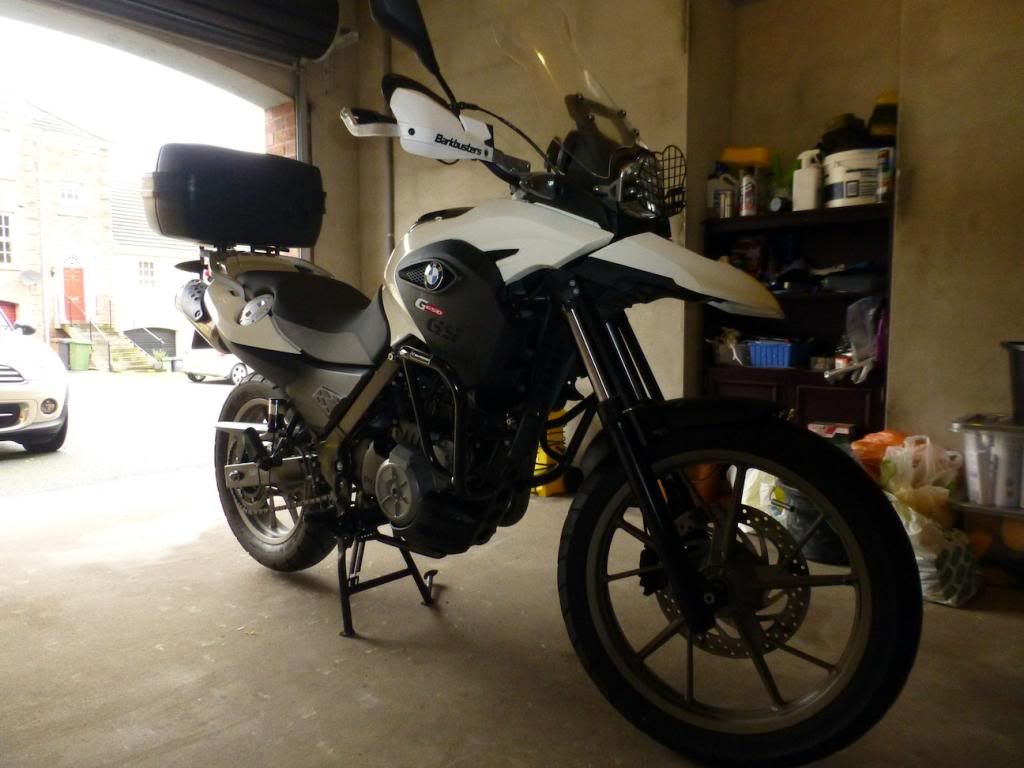
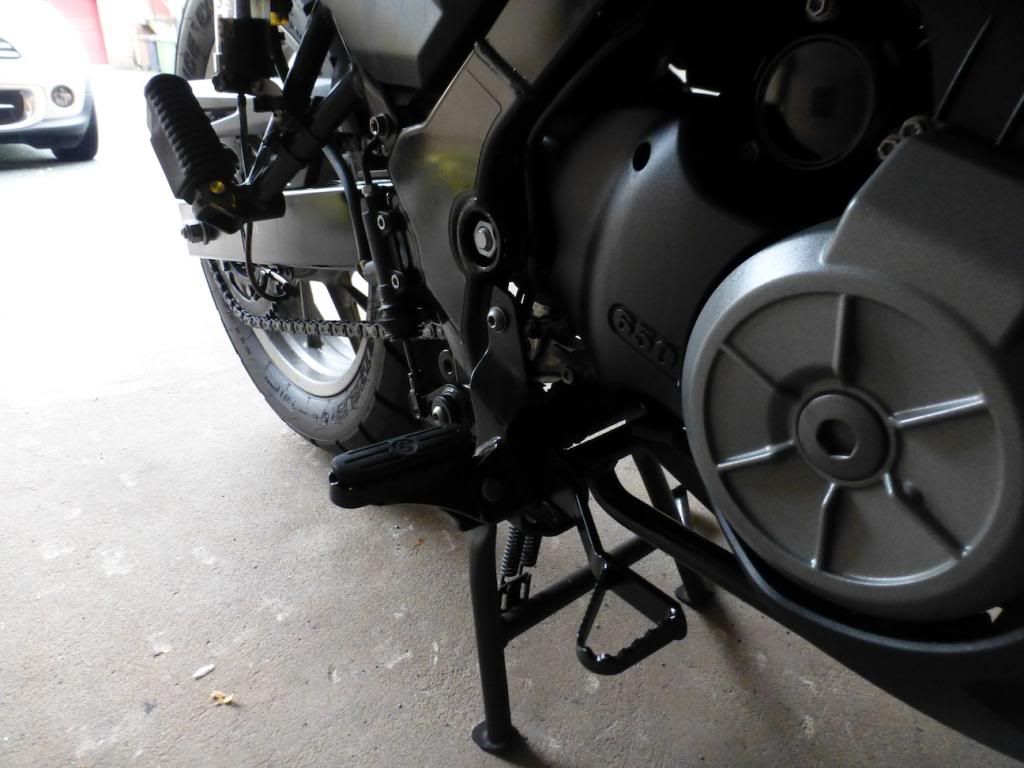
 photo P1080157_zps9f3ff48a.jpg
 photo P1080158_zps456b01a5.jpg
 photo P1080159_zps847b3db4.jpgSimply undo one nut and bolt, carefully reeve the spring and replace in the reverse order – job done!
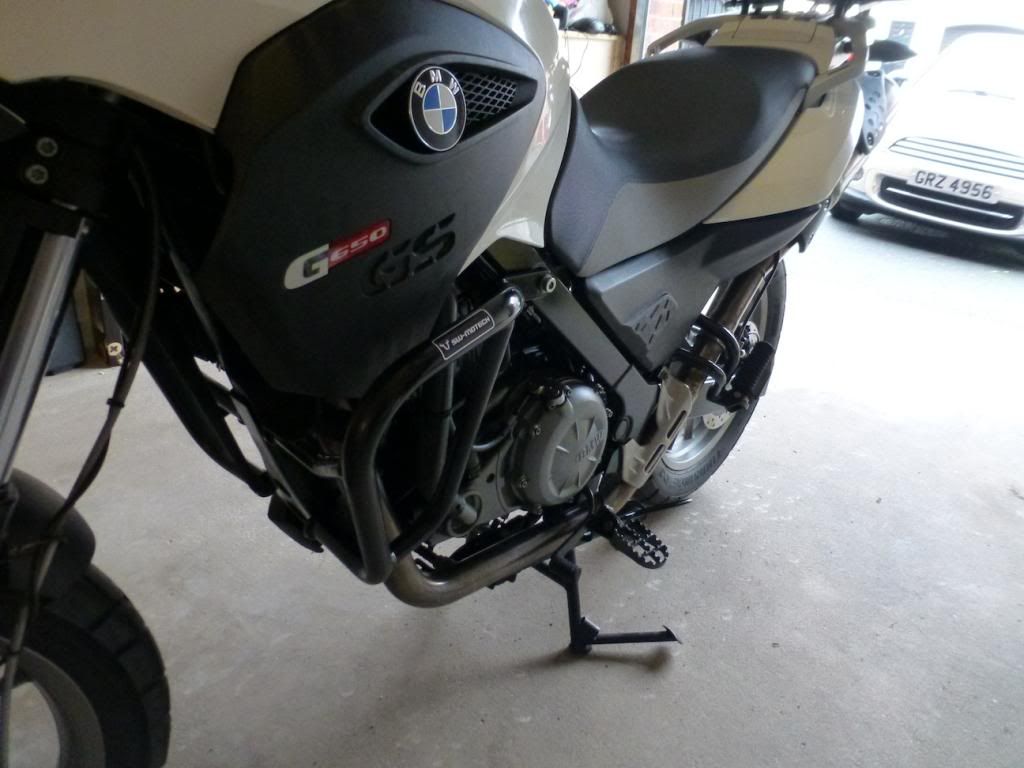
 photo P1080160_zps240b7371.jpg
 photo P1080161_zps734dbce2.jpg
 photo P1080162_zpsf9646872.jpg
 photo P1080163_zpsf9fbaa42.jpg
 photo P1080164_zps300a79bd.jpgThen we have the Tank Pads from Wunderlich – Peel off the 3m sticky pads, line them up and slap them down!
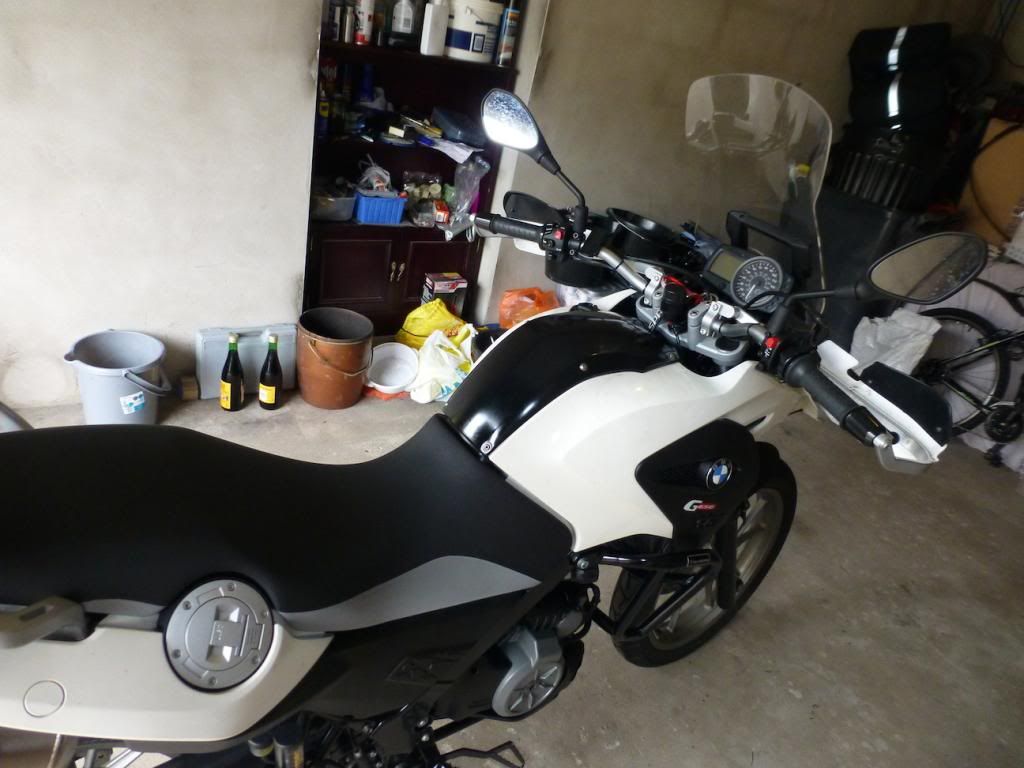
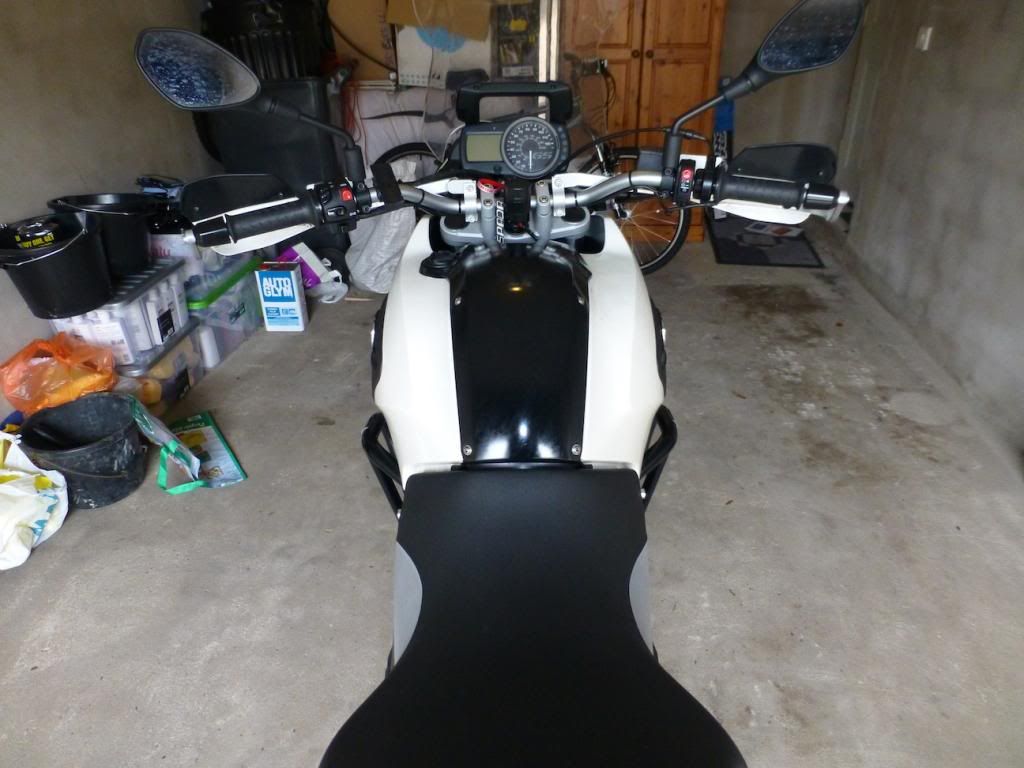
 photo P1080274_zpsc62b8d53.jpg
 photo P1080275_zpsa50d136f.jpg
 photo P1080276_zpsf0831661.jpg
 photo P1080277_zpsae542e6d.jpg
 photo P1080278_zps6d5a35d7.jpg
 photo P1080279_zps7a0fd3d9.jpg
 photo P1080280_zps7e2eca6a.jpgSo as far as I am concerned these 3 simple modifications made a huge difference to the bike. The tank guards did just that no more needs to be said, the wide pegs make long days on the bike so much more comfortable, if if you have to go standing, much much safer and of course stable and more comfortable. In fact if you intend to do any riding whilst standing on the pegs, wide pegs are a necessity, it is that simple! Finally the screen – a great job, long days on the bike become so much easier. Buffeting is dramatically decreased and passing a lorry or bus on the motorway becomes much less of a worry.

As can be seen from the gear I bought it doesn’t have to cost the Earth to preform these simple modifications, and the question I got asked most re the pegs was do they feel sturdy and strong. Take it from me as a big biker, the pegs are fine, they held me without issue, and if they hold me at about 17-18st I’m sure they will hold you too!

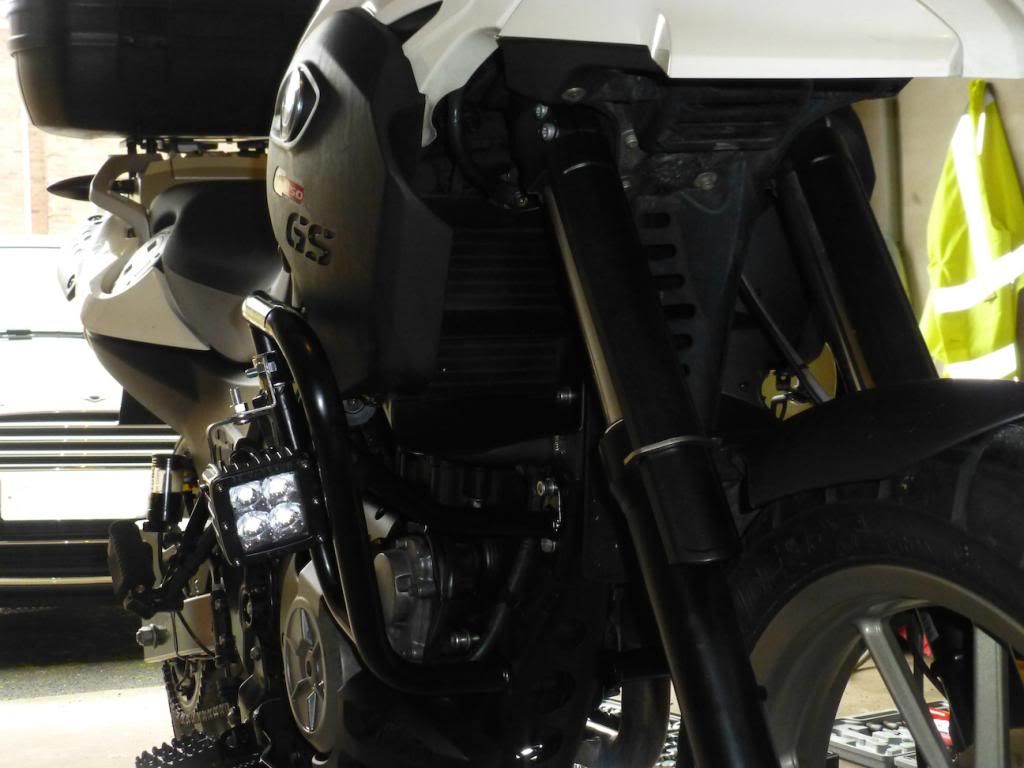
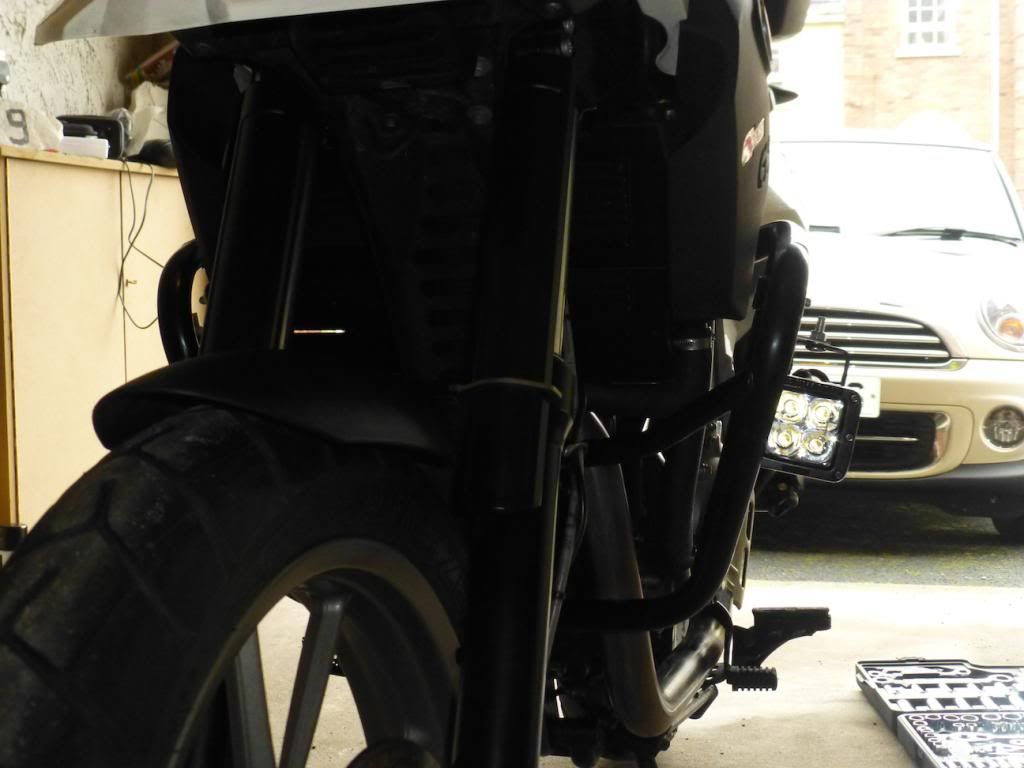
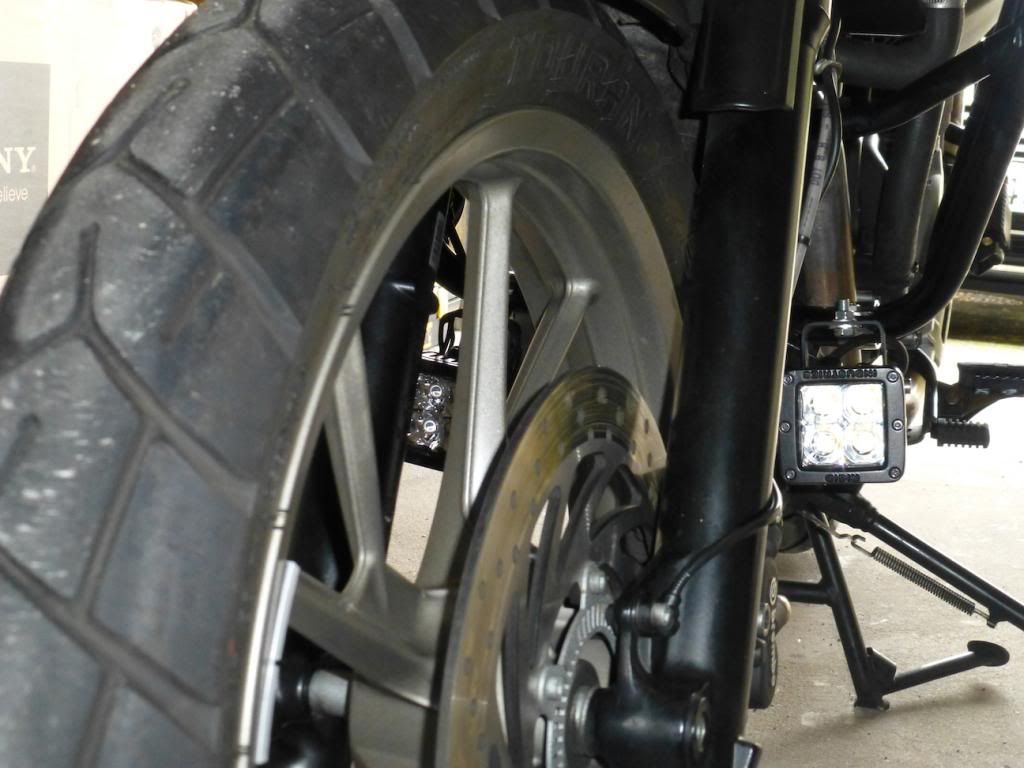
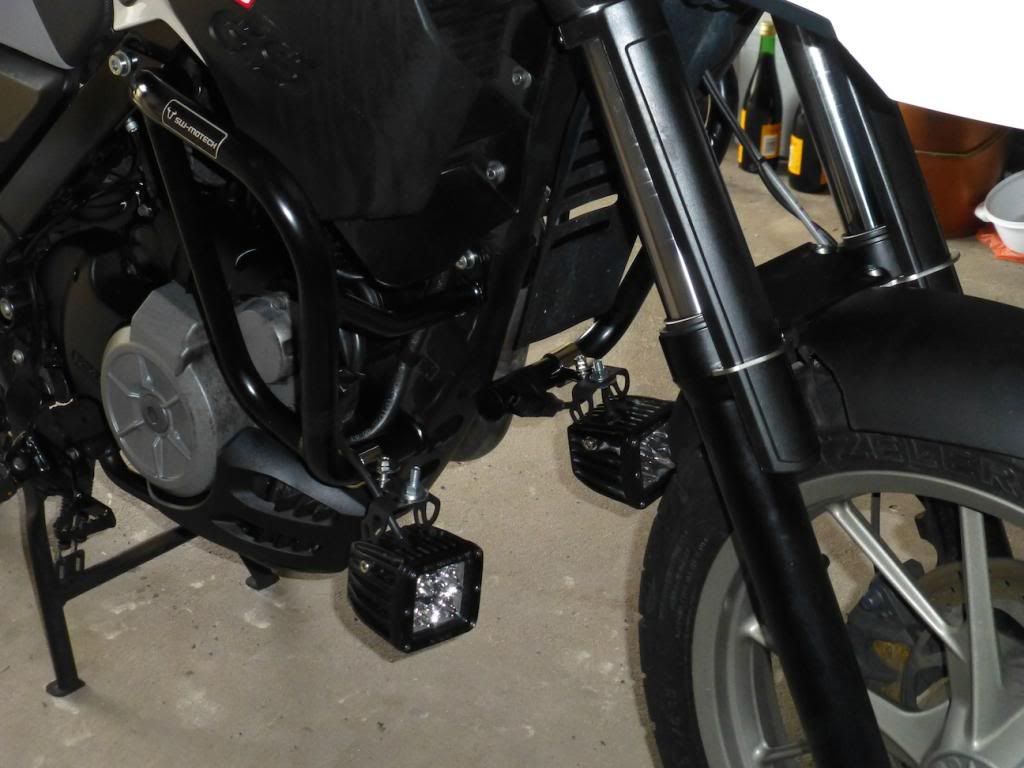
Unfortunately however all was not plain sailing. I also bought some Rigid Industries Dually Auxillary Lights, just to make night time riding a little more tolerable. I did a lot of research on which lights to buy and came to the conclusion that these were the lights I was looking for. User reviews consistently rate them highly, all across the world, and no one who I spoke with that had a set could speak badly off them. They are extremely bright, extremely durable and extremely tough, and by all accounts plug and play simplicity sets them up. Unfortunately I never got that far!

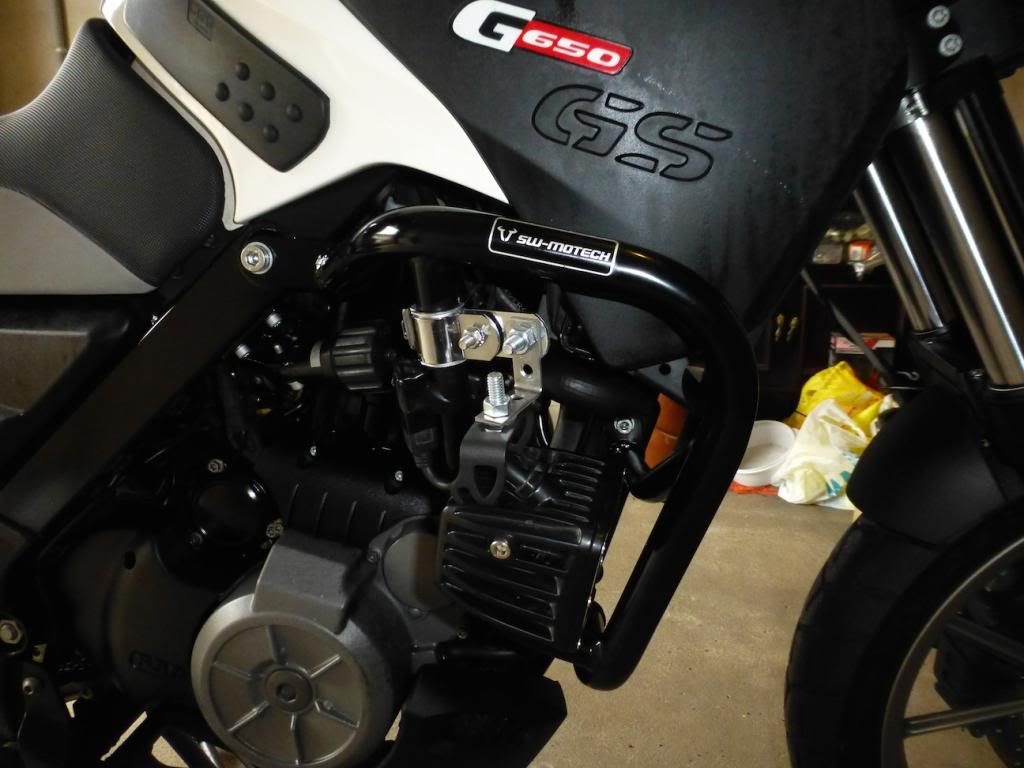
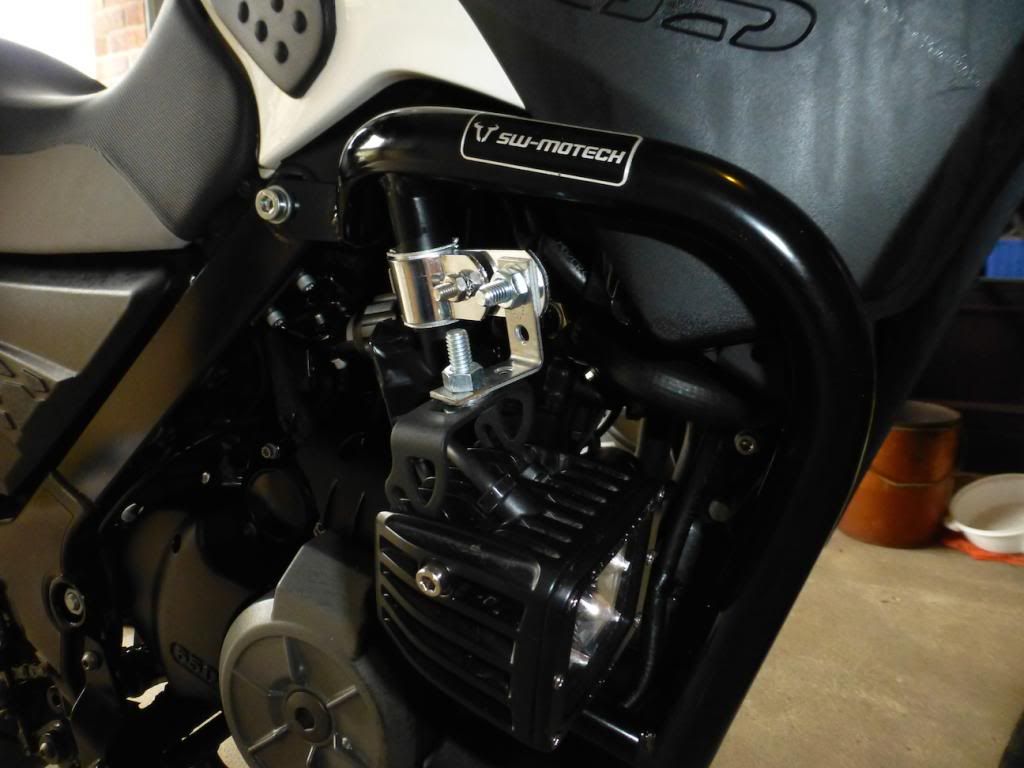
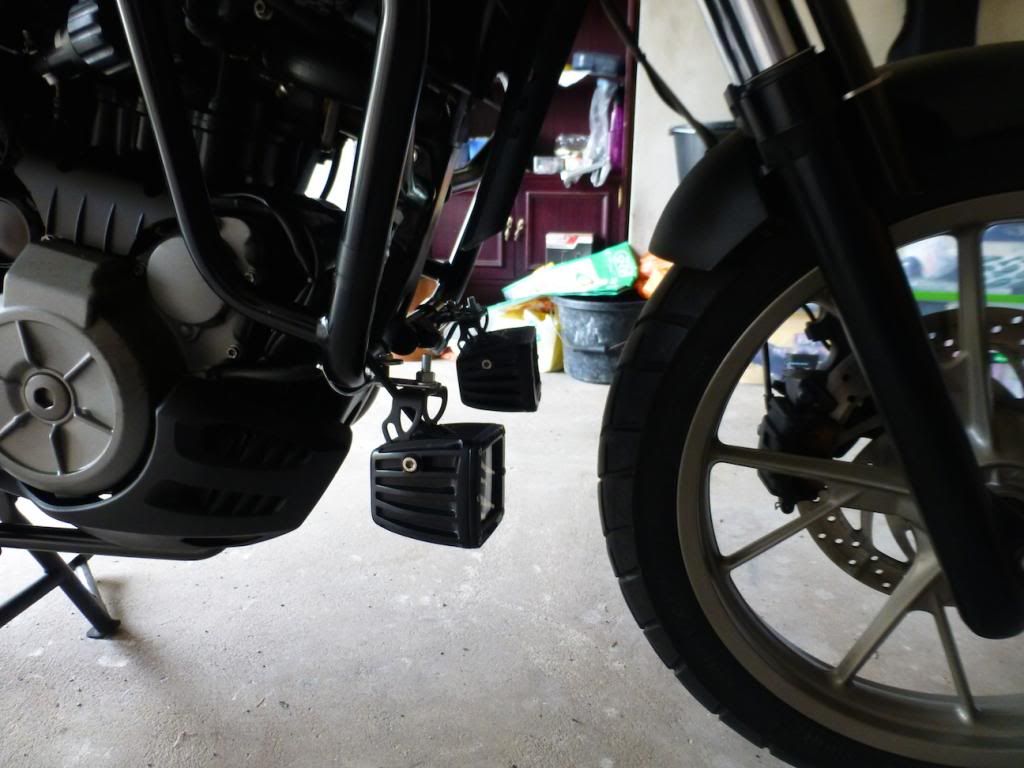
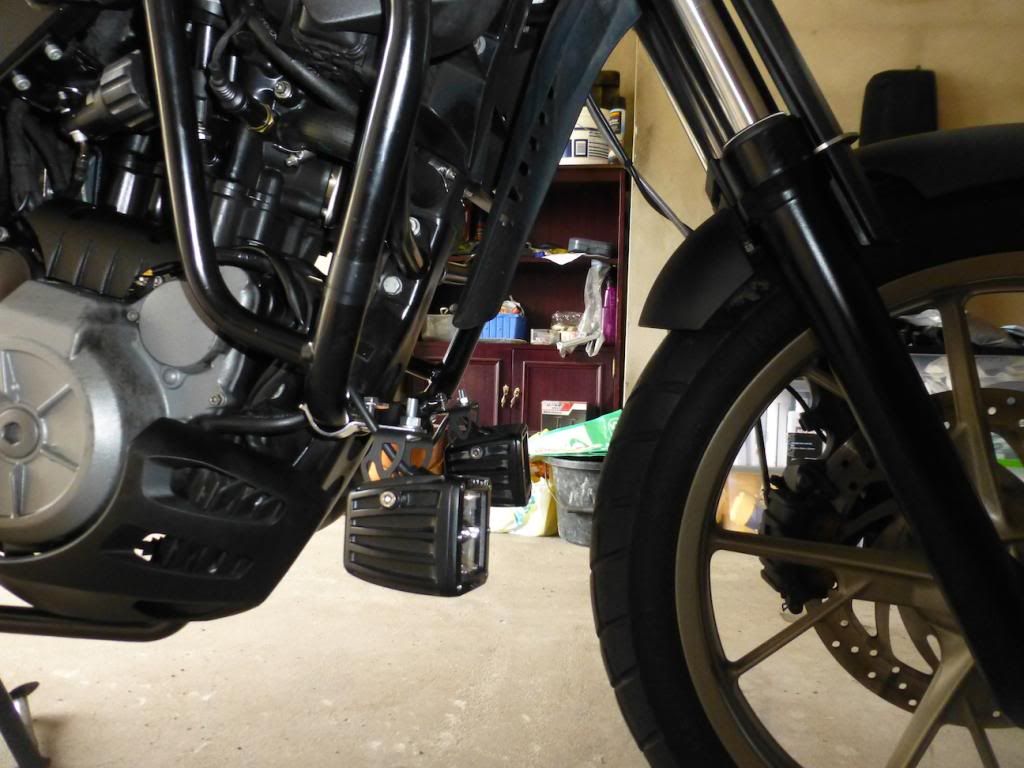
For me the issue was where to mount them. The G650GS is a reasonably small dual purpose bike, there simply isn’t much spare room kicking about on it. That means mounting options are very limited. I was reduced to the option of mounting them on the crash bars.

Initially I went for the side of the bars, it was then, rightly, pointed out to me that in the event of a spill you could be forcing the lights into the engine. And the fact that these things are so tough you will do damage to the engine of they go crashing into it.
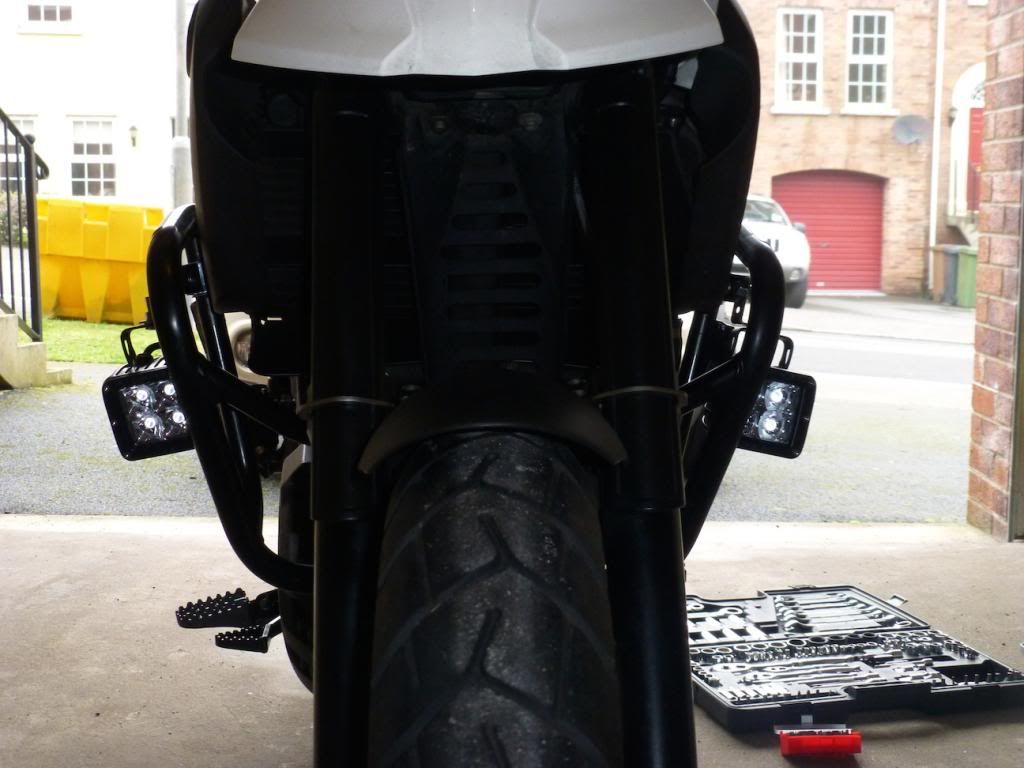
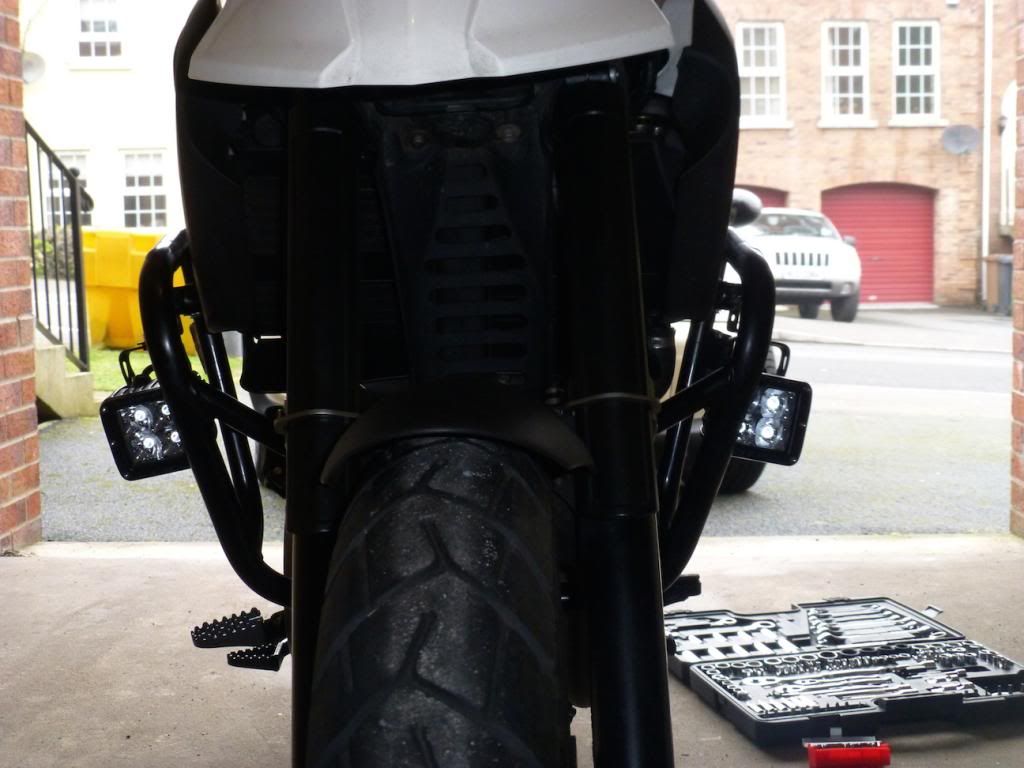
 photo P1080281_zpsa4bcc7f3.jpg
 photo P1080282_zps62d91082.jpg
 photo P1080283_zps41d81253.jpg
 photo P1080285_zps9bbff743.jpg
 photo P1080286_zps1c2624a7.jpg
 photo P1080287_zpscc4f8d80.jpgMy next option was on the bottom of the bars but as you can clearly see the clearance was an issue and then wiring them up and getting the light throw correct was just going to be a nightmare.
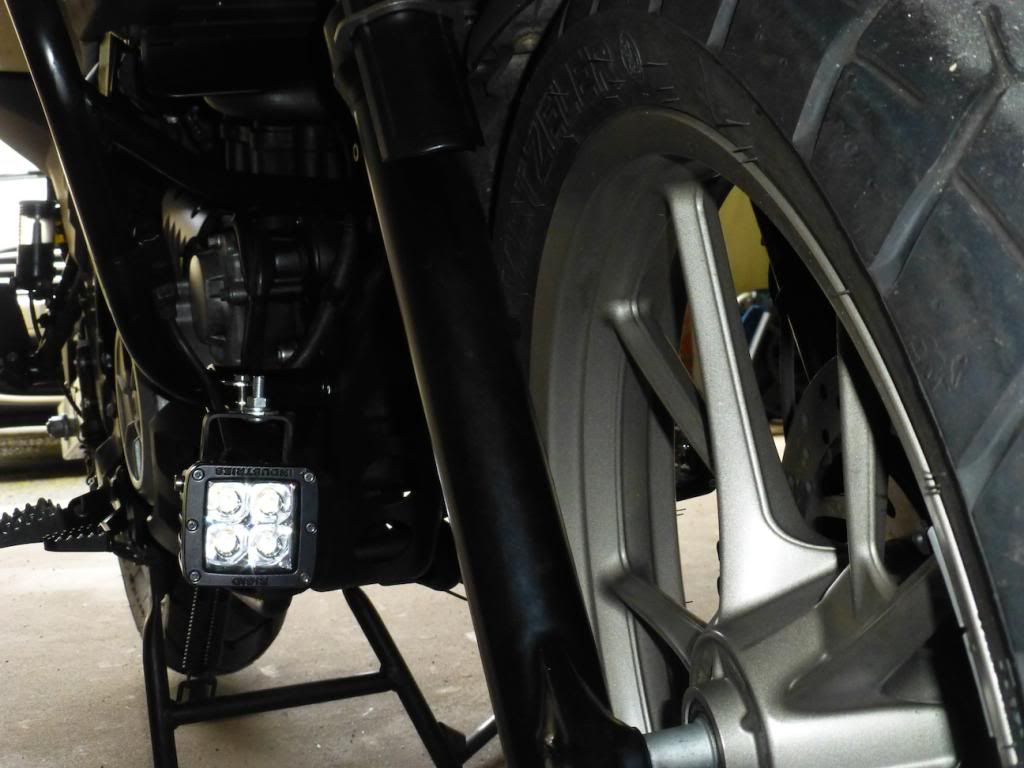
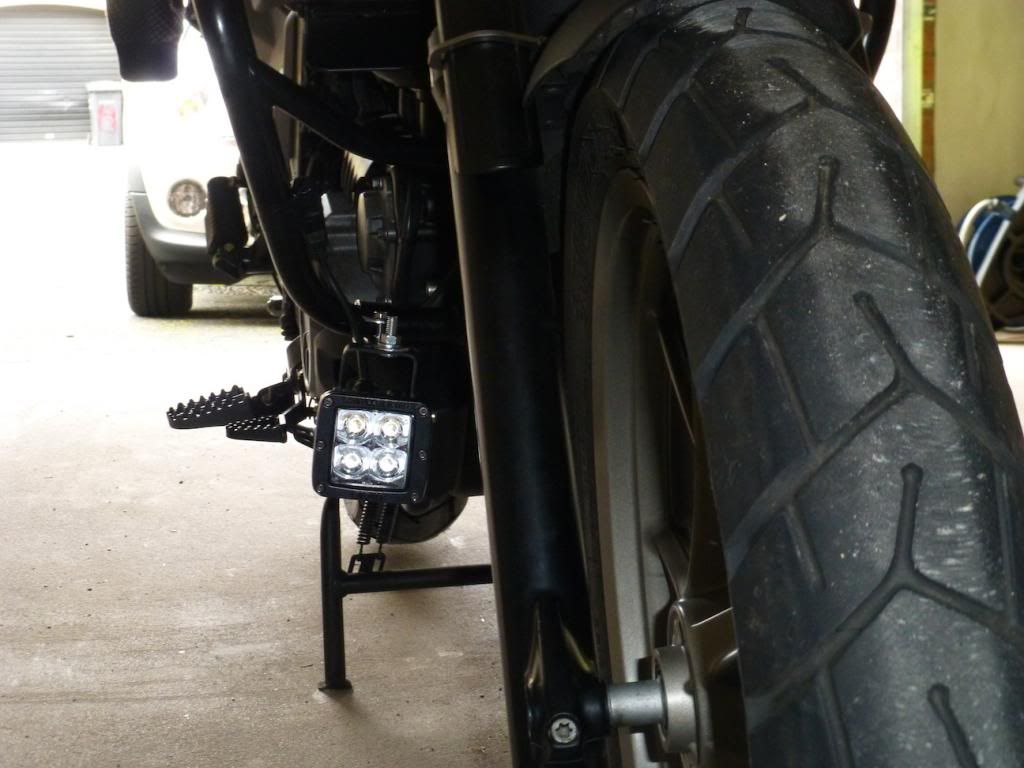
 photo P1080290_zps5f735ad8.jpg
 photo P1080293_zps2dd93403.jpg
 photo P1080294_zps5c3fbf87.jpg
 photo P1080296_zps128cf940.jpg
 photo P1080297_zps27e12aab.jpg
 photo P1080298_zps5de6100b.jpgUnfortunately thats where the story of the lights ends, I never got them fitted, and then changed my bike. The new bike having aux lights my Rigid Industries Dually Lights became surplus to requirements and I sold them on. Just prior to that I was looking at getting a custom mount made but that never developed.

If you are the owner of a G650GS with Rigid Industries Dually lights fitted get in touch as I would love to see them fitted and get an opinion from an owner as to how they work for them.

Anyway that concludes my G650GS story and as I have said I have changed the bike and will be adding more info in relation to it soon, as well as doing a little bit of Moto Vlogging, so stay tuned for that, and thanks for reading!